
Looking for an easy tool to automate your Docker setup?
Check out STACK BUILDER (Web application stack builder)
Let’s see how it works with a simple example!
Case 1: Setting up a basic nginx web server on Digital Ocean cloud.
Just log in to your account, click on STACK BUILDER, and then hit "Build your stack".
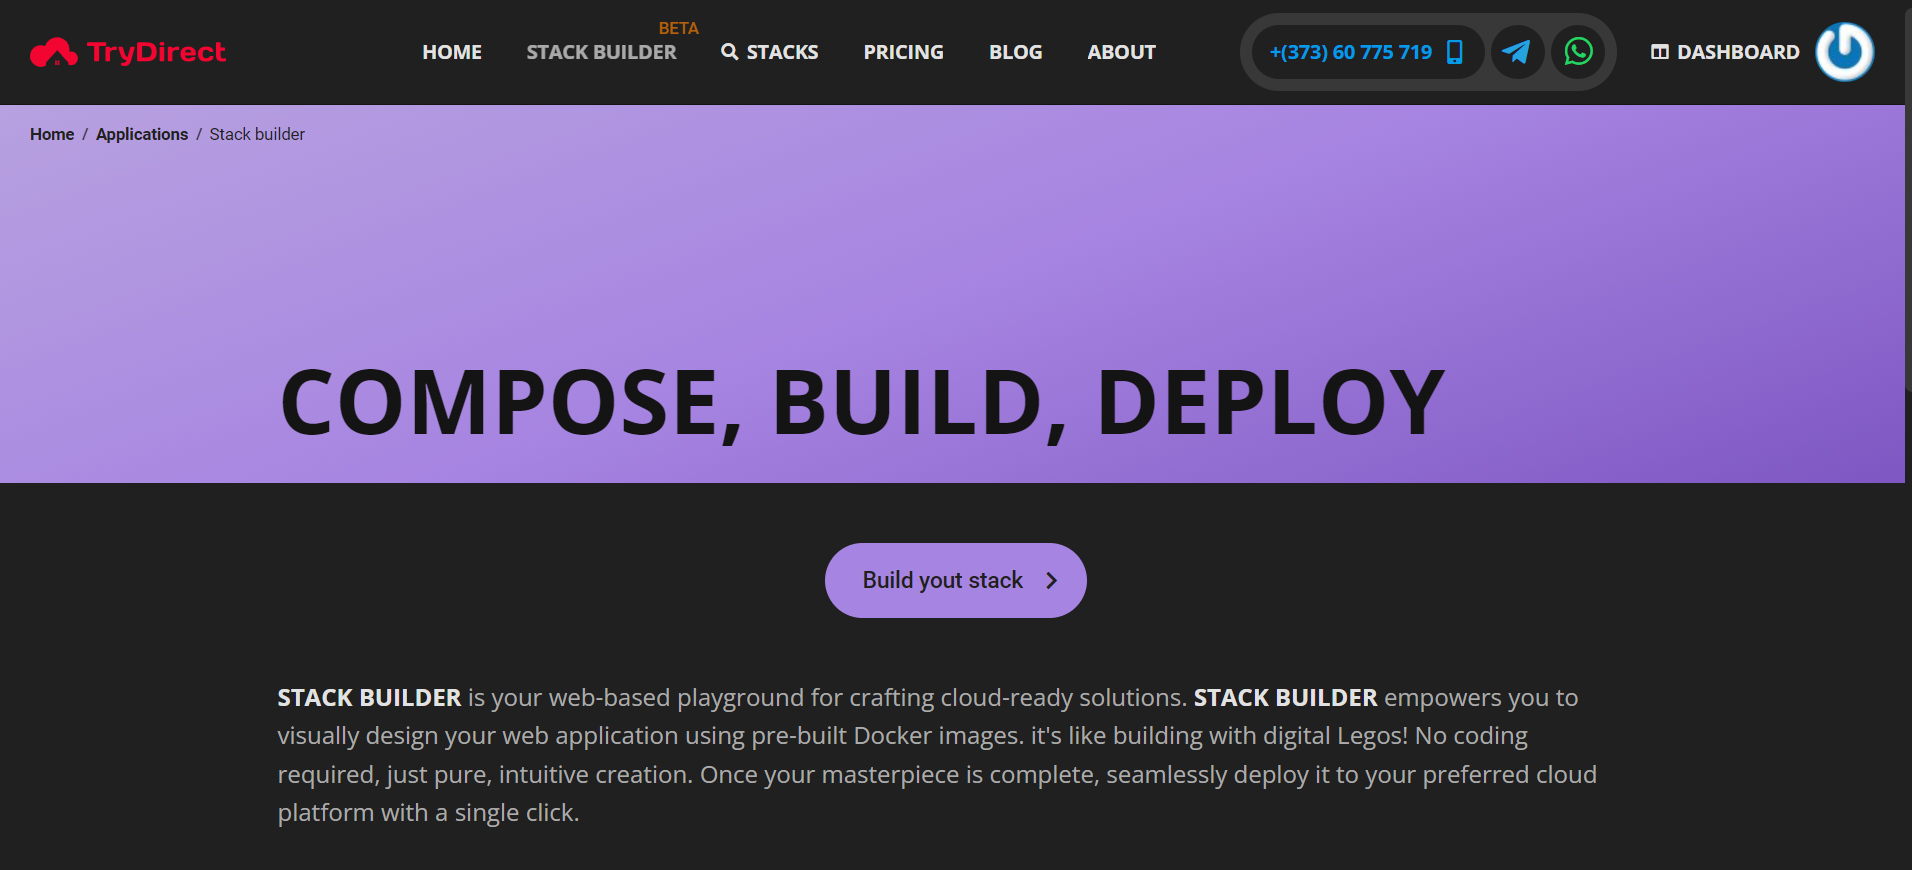
Click build your stack
You will see the screen as shown below:
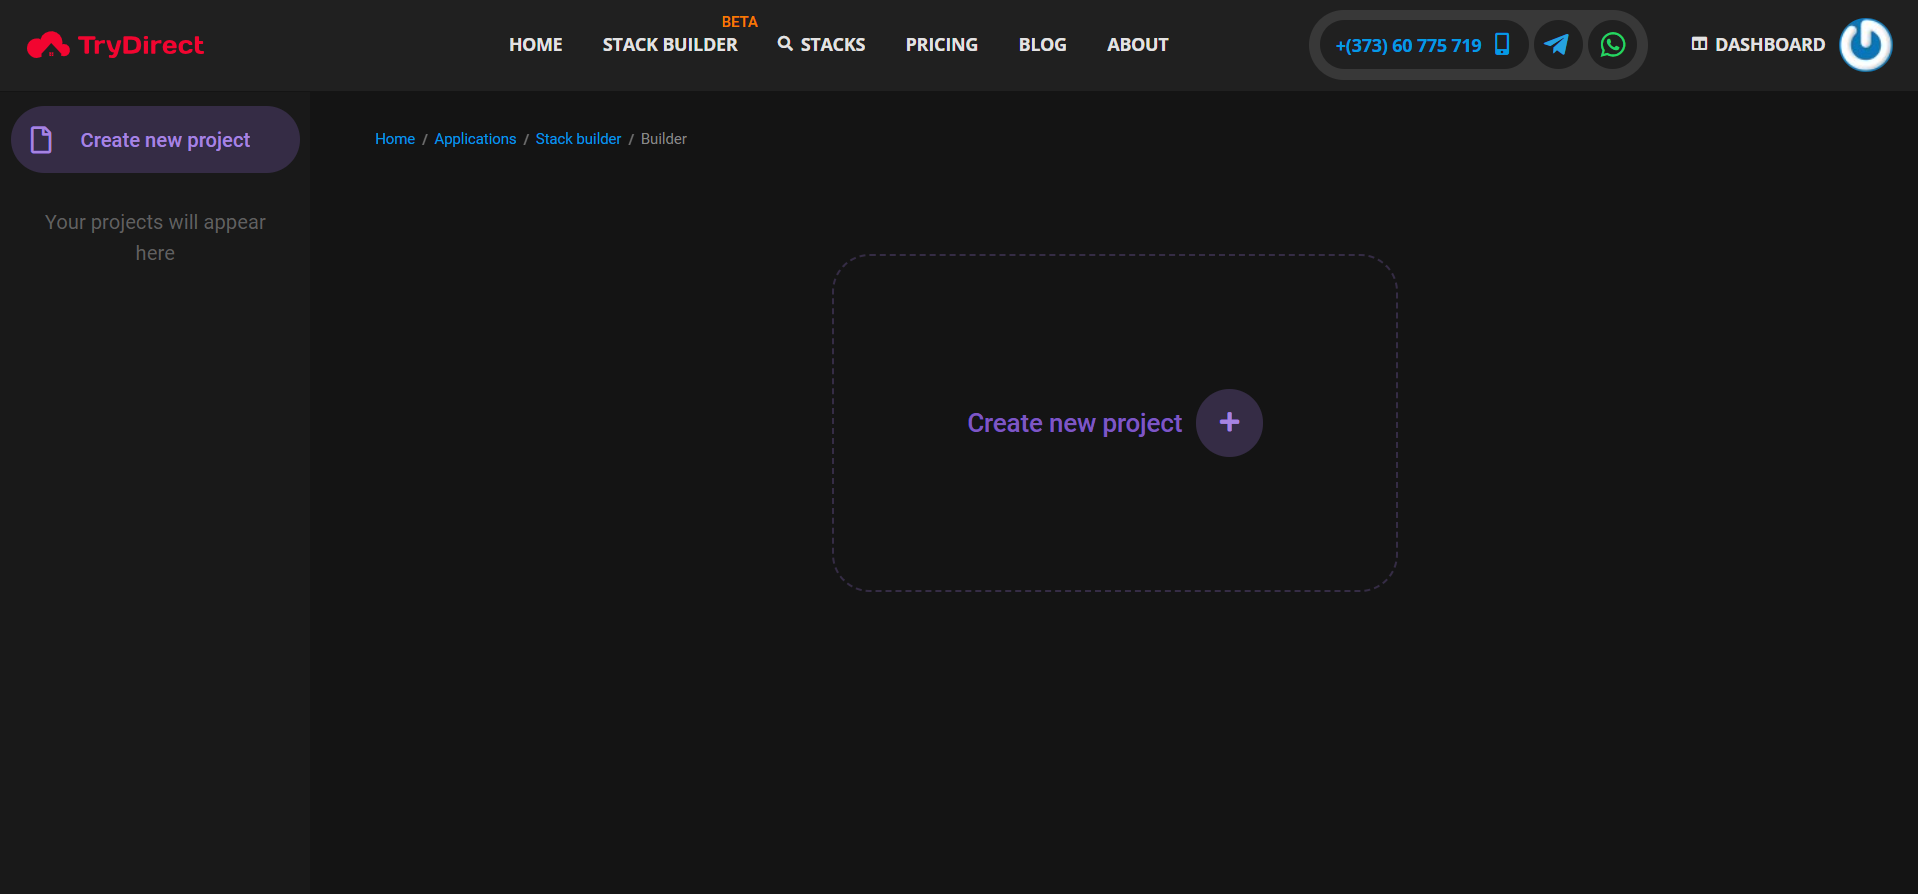
Create new project
Since we don’t have any project, we need to create a new one. Simply click on the "Create new project" button, and you'll see the screen as shown in the screenshot below. From there, you can fill in the details according to your needs.
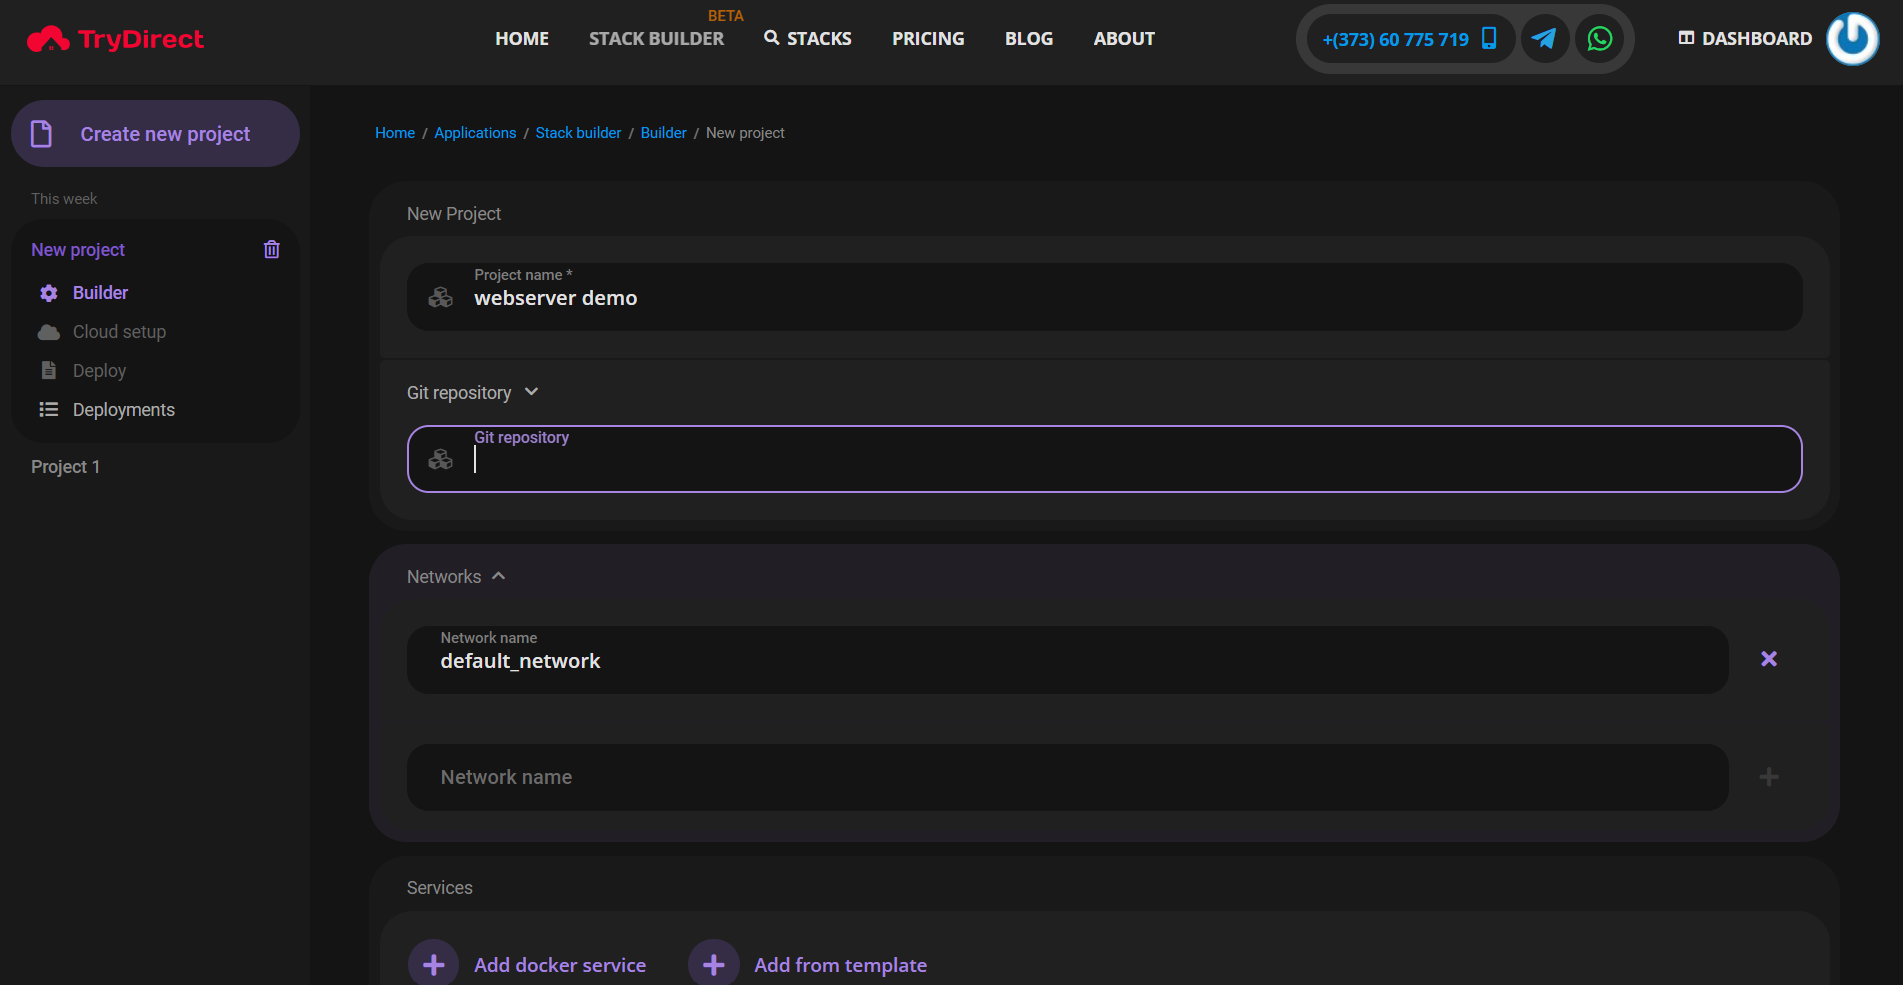
Configure project
Here, enter the project name and other necessary details based on your needs. In this example, we'll set up a web server using Nginx. Go to the "Services" option and click on "Add from template"

Add new docker service from template
Here, you'll find various ready-to-use Docker service templates. In our case, select Nginx, as shown below:
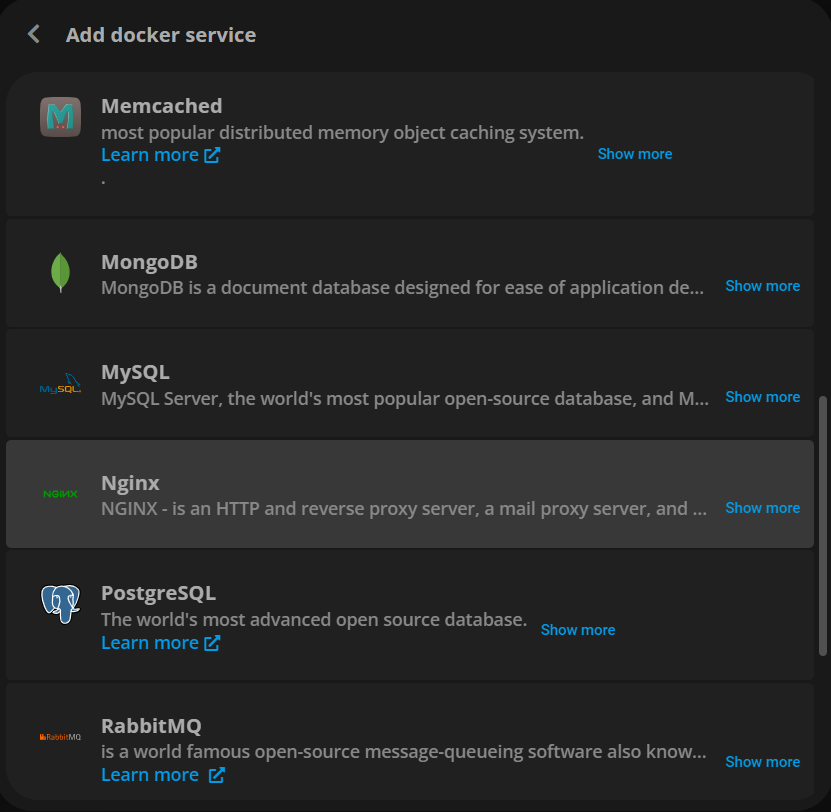
Select docker service from the list of templates
Next, you can adjust different settings like App name, Domain, Ports, Environment, Volumes, Networking, Docker Restart Policy, and more. In our case, we'll configure it without a domain name and using default predefined settings.
Once you've set up all the parameters, click on the "Continue" button. Then, choose your preferred cloud provider. In our example, we've selected DigitalOcean.
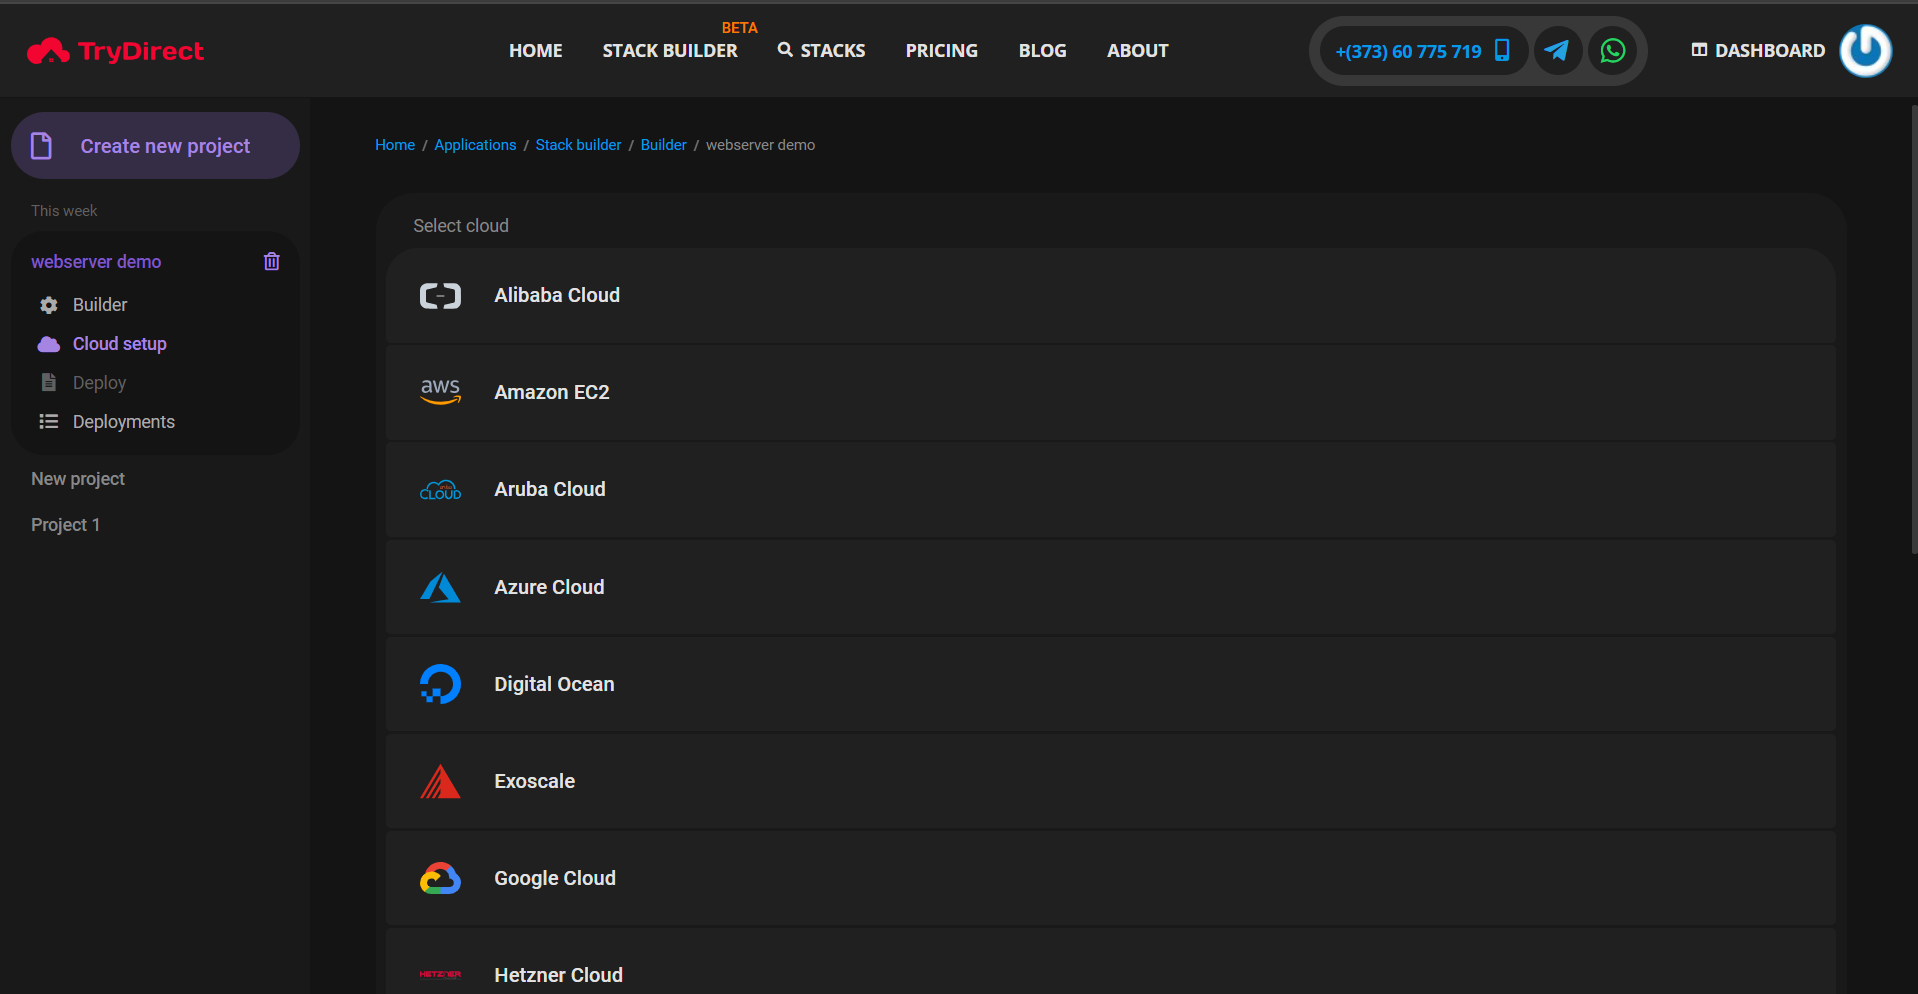
Choose cloud provider from the list
After selecting Digital Ocean, you'll see a screen like the one below, where you'll need to provide your Personal Access Token.
To get your Personal Access Token, follow the steps outlined in this link: https://try.direct/clouds/deploy-to-digital-ocean
Once you've generated your Personal Access Token on Digital Ocean, paste it in the designated field, as shown in the screenshot below:
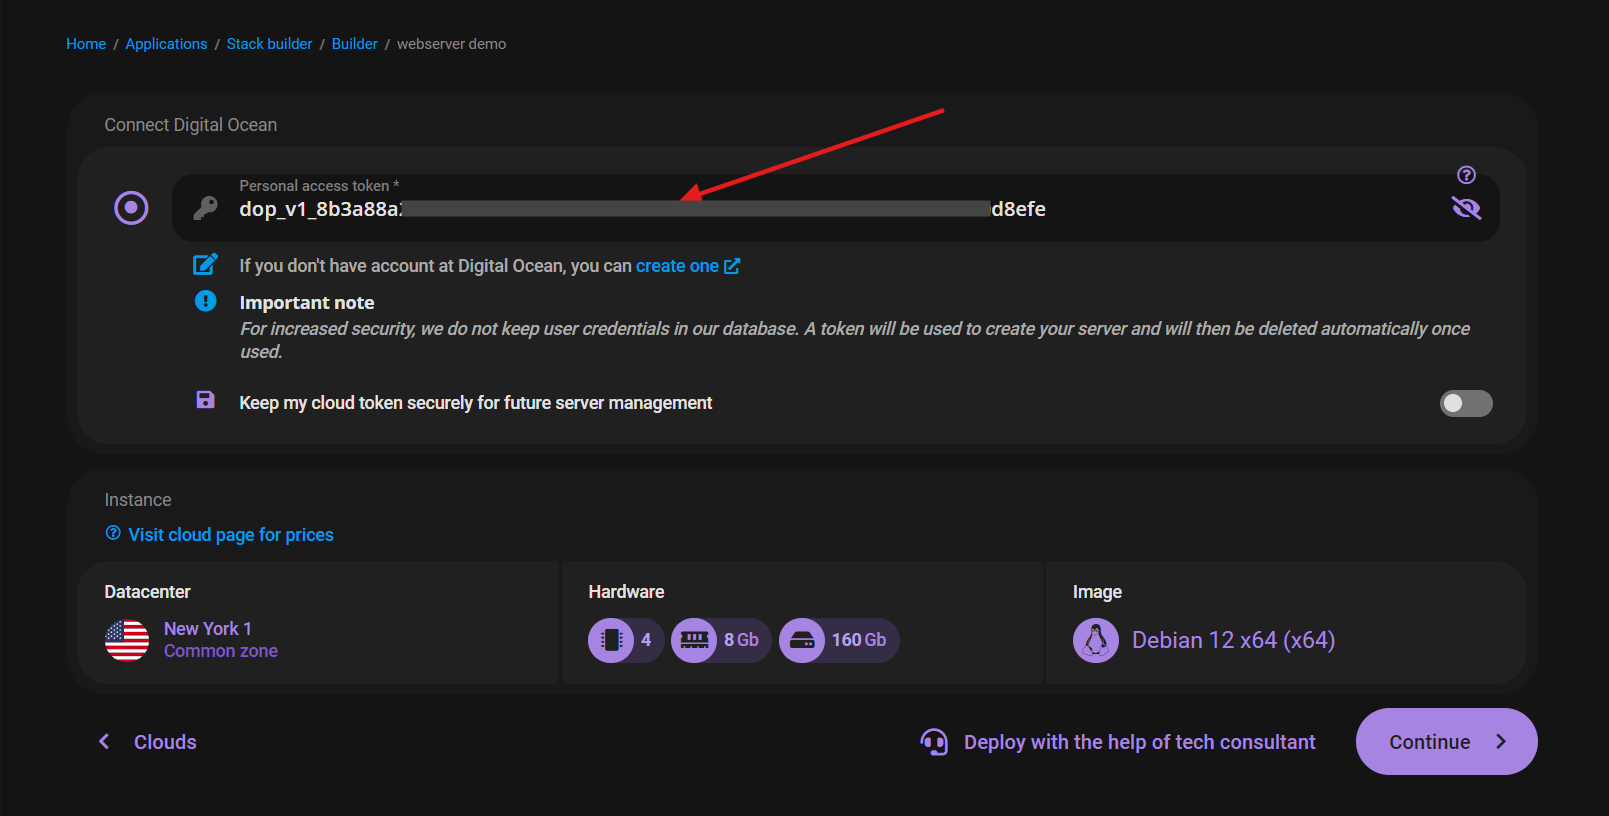
Insert you personal token from you obtained at Digital Ocean
Here, you can choose the Datacenter, Hardware configuration, and Base image by simply clicking on them. You can also select the number of Instances you need.
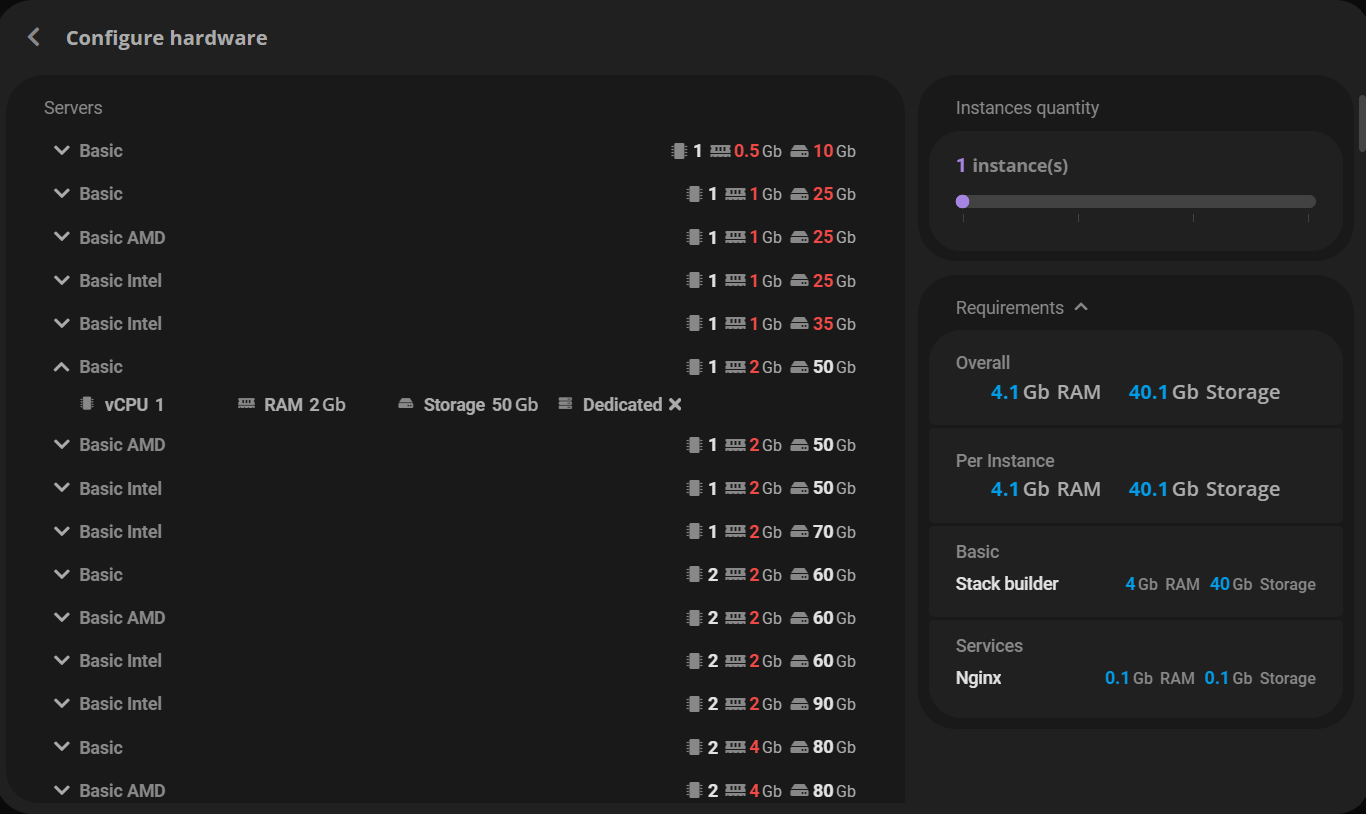
Choose the server hardware
Next, click on continue button, and you will see your Docker-compose file in the next screen:

Preview generated docker-compose file
Review the docker-compose content, then click on the "Deploy" button to start your deployment automatically. It will take approximately 15 minutes. You can also check the runtime logs.

Watch the installation progress logs
Once, the process is completed, you will see the screenshot similar to the below:
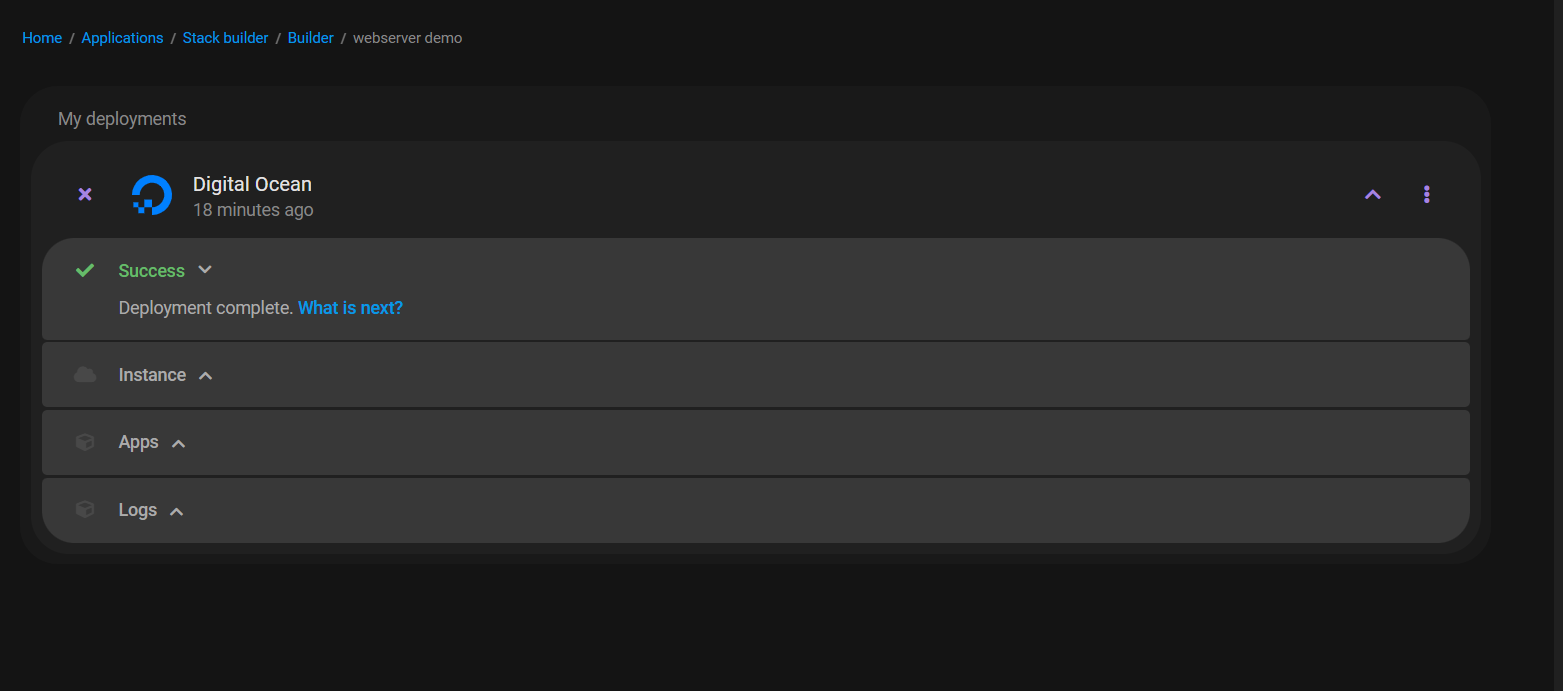
Check installation status
You'll notice the droplet has been automatically created in your DigitalOcean account. To access the Nginx webpage, simply enter your domain name or server IP address.
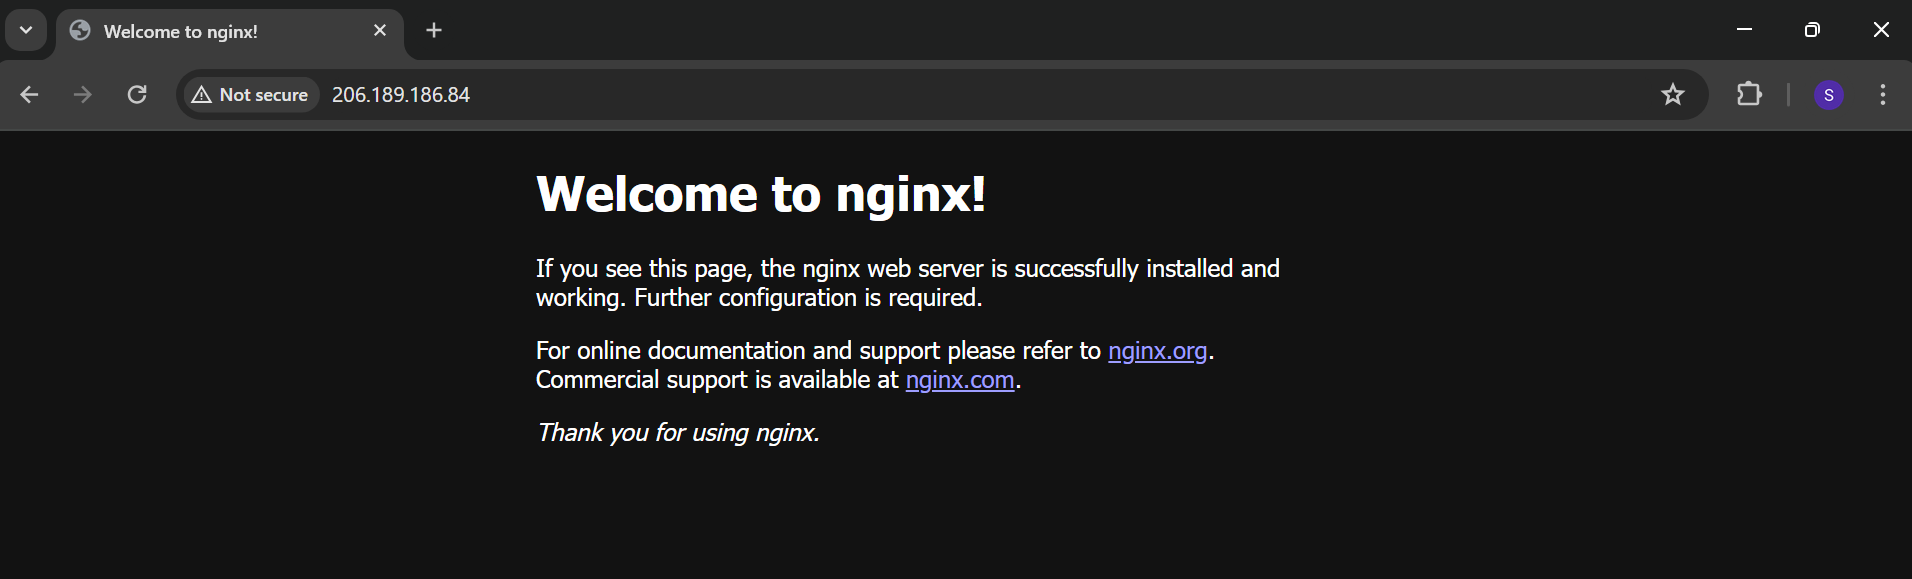
Nginx running in docker at Digital Ocean
We have successfully set up Nginx web-server on Docker using Stack Builder.