
In this article, we'll demonstrate how to set up a PostgreSQL database server on Linode using Stack Builder.
- Start by creating a new project. Click on the “Create new project” option, as shown in the screenshot below:

Create new project in STACK BUILDER
Name your project as desired and select the “Add from template” option.

Add service from template
Next, select PostgreSQL from the pop-up menu.
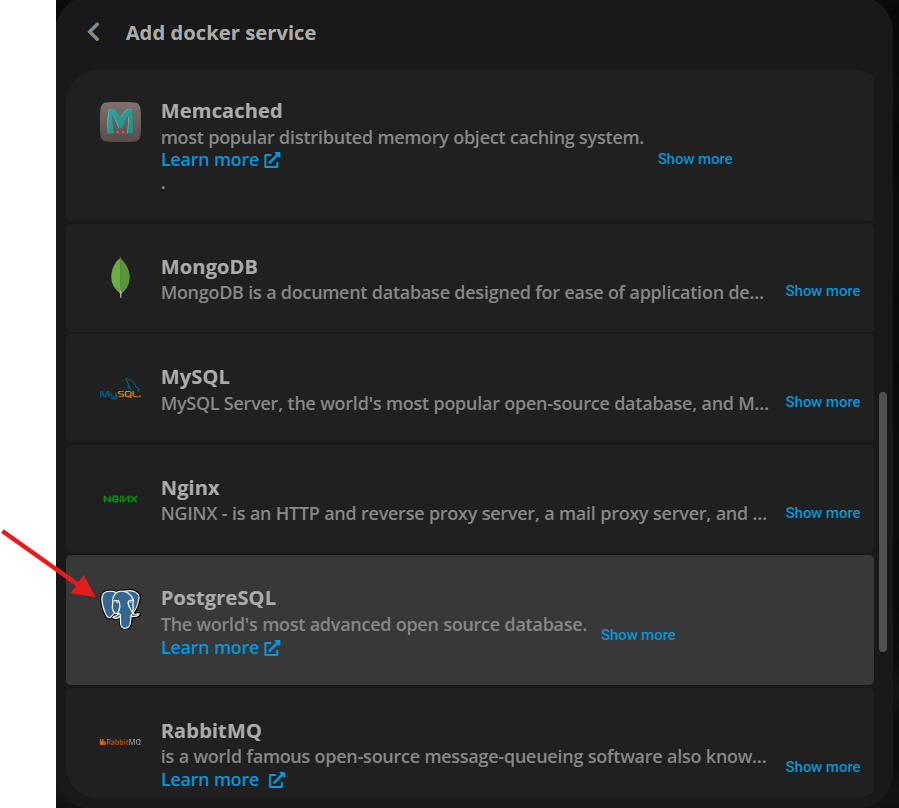
Select PostgreSQL service template from the list
Now, configure the PostgreSQL parameters according to your requirements. Here, you can set environment variables such as the database password, username, and database name.
Once you've configured the settings, click the “Apply” button as shown in the screenshot below:
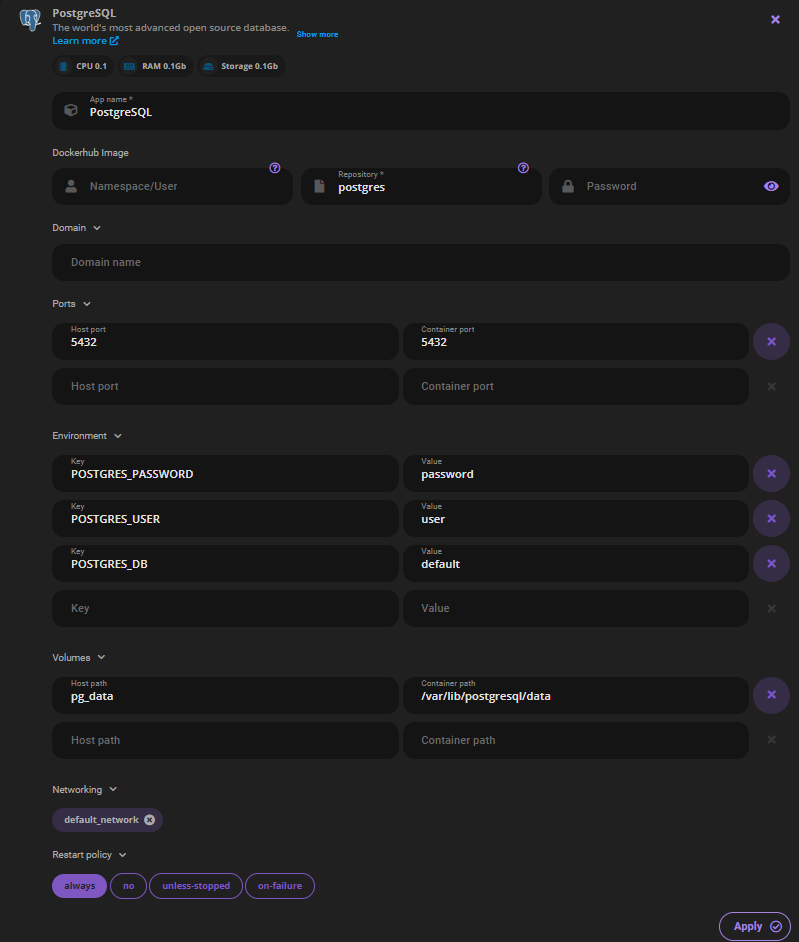
Configure PostreSQL service environment variables
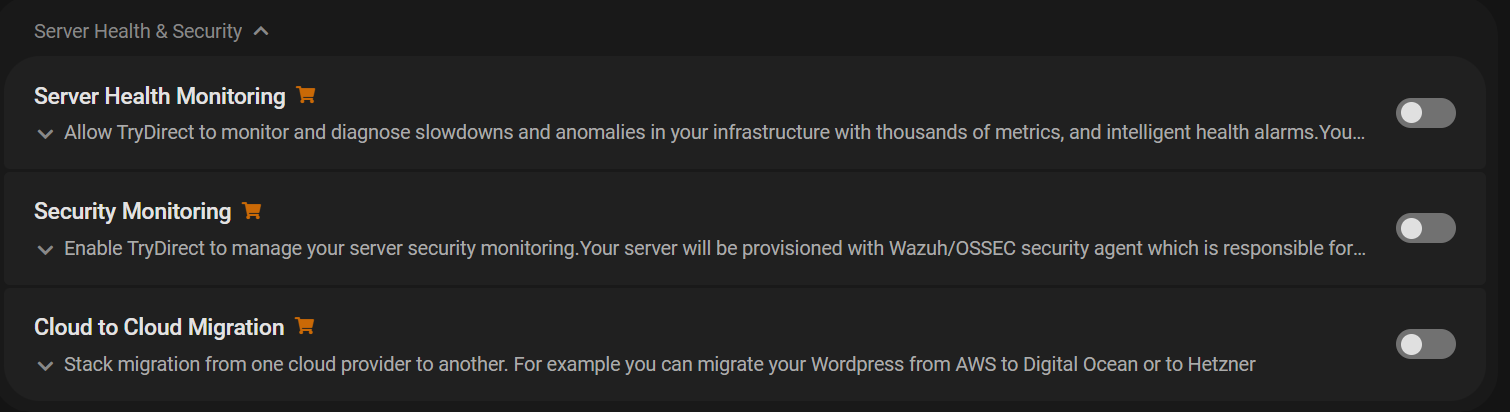
Additionally, you can enable features such as “Server Health Monitoring” and “Security Monitoring.” If needed, you can also facilitate “Cloud to Cloud Migration” to transfer your data seamlessly between different cloud services.
But let's skip this step for now. Leave it without any modifications.
Next, click on the continue button:

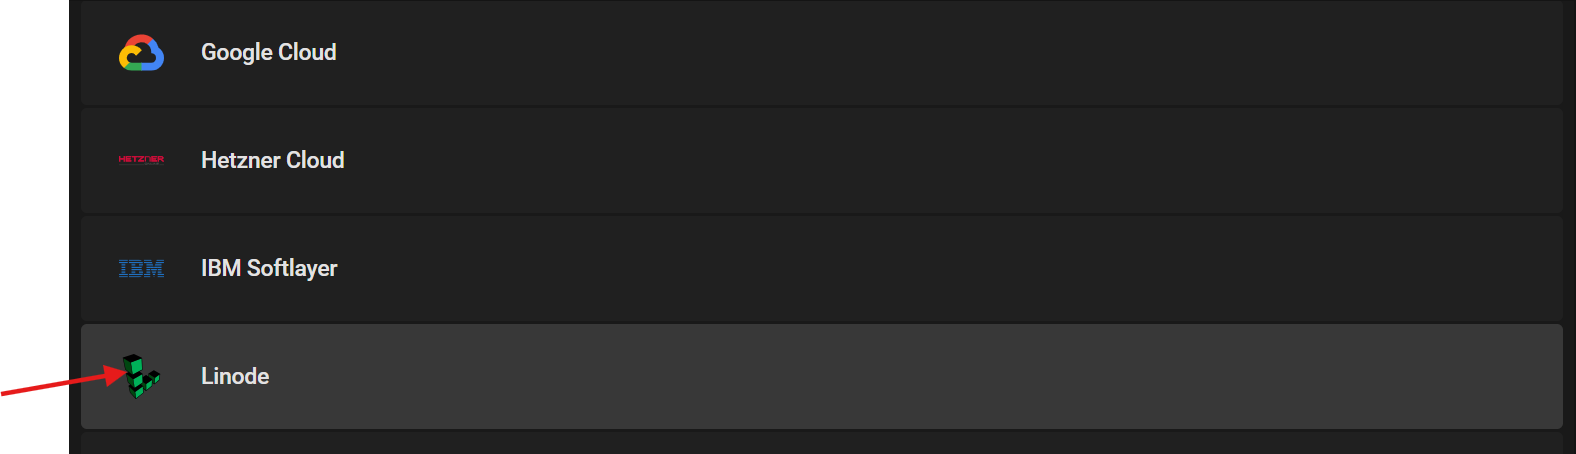
Next, select the cloud provider of your choice, in this example, we have selected Linode.
Now, you need to provide Linode “API Token”. You can easily obtain your Linode Token from the URL below:
https://cloud.linode.com/profile/tokens
Copy and Paste your API Token as shown in the screenshot below:
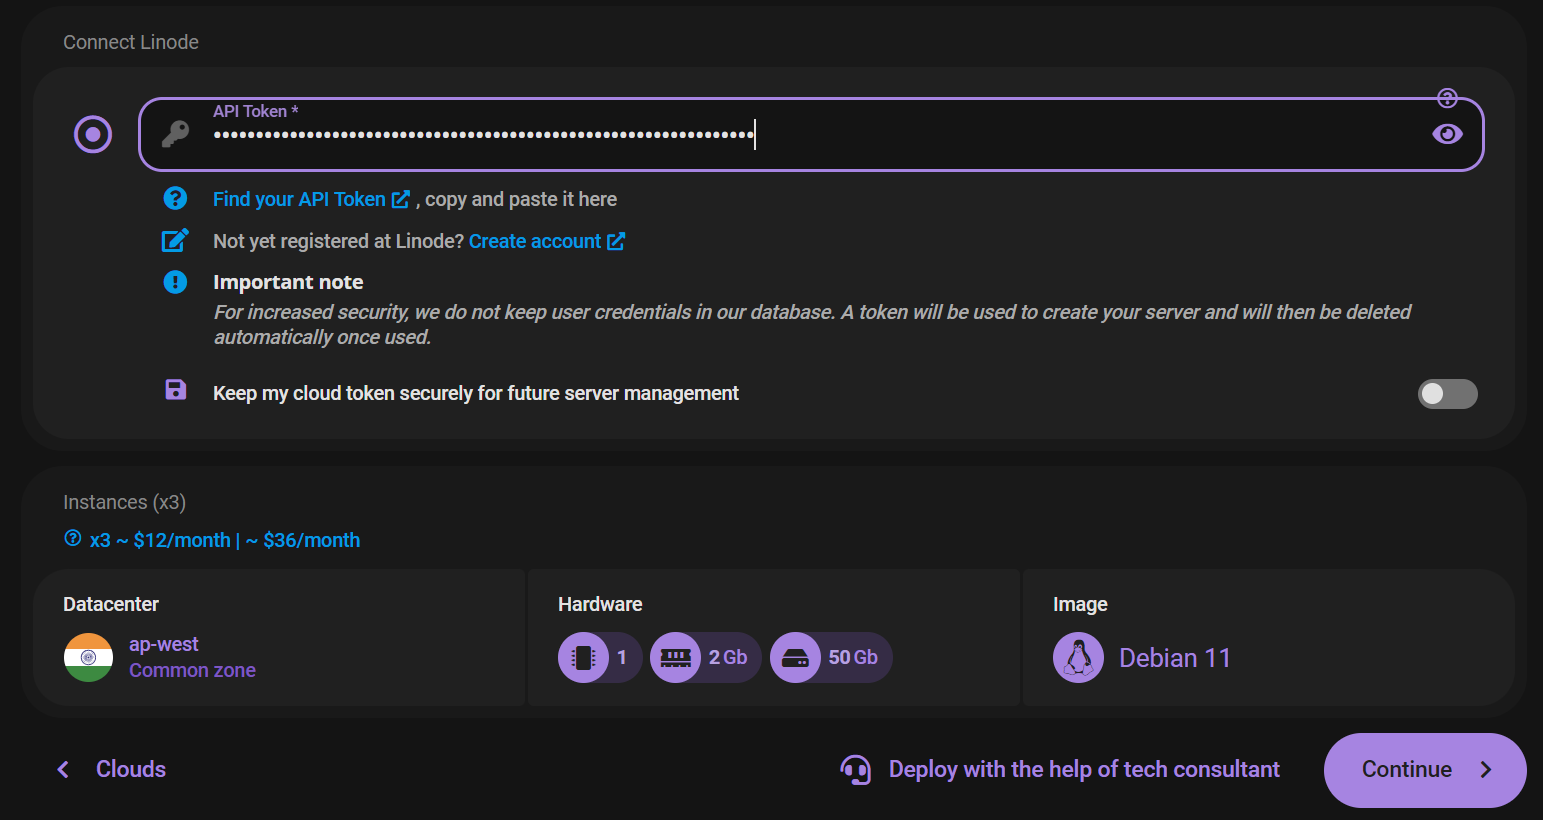
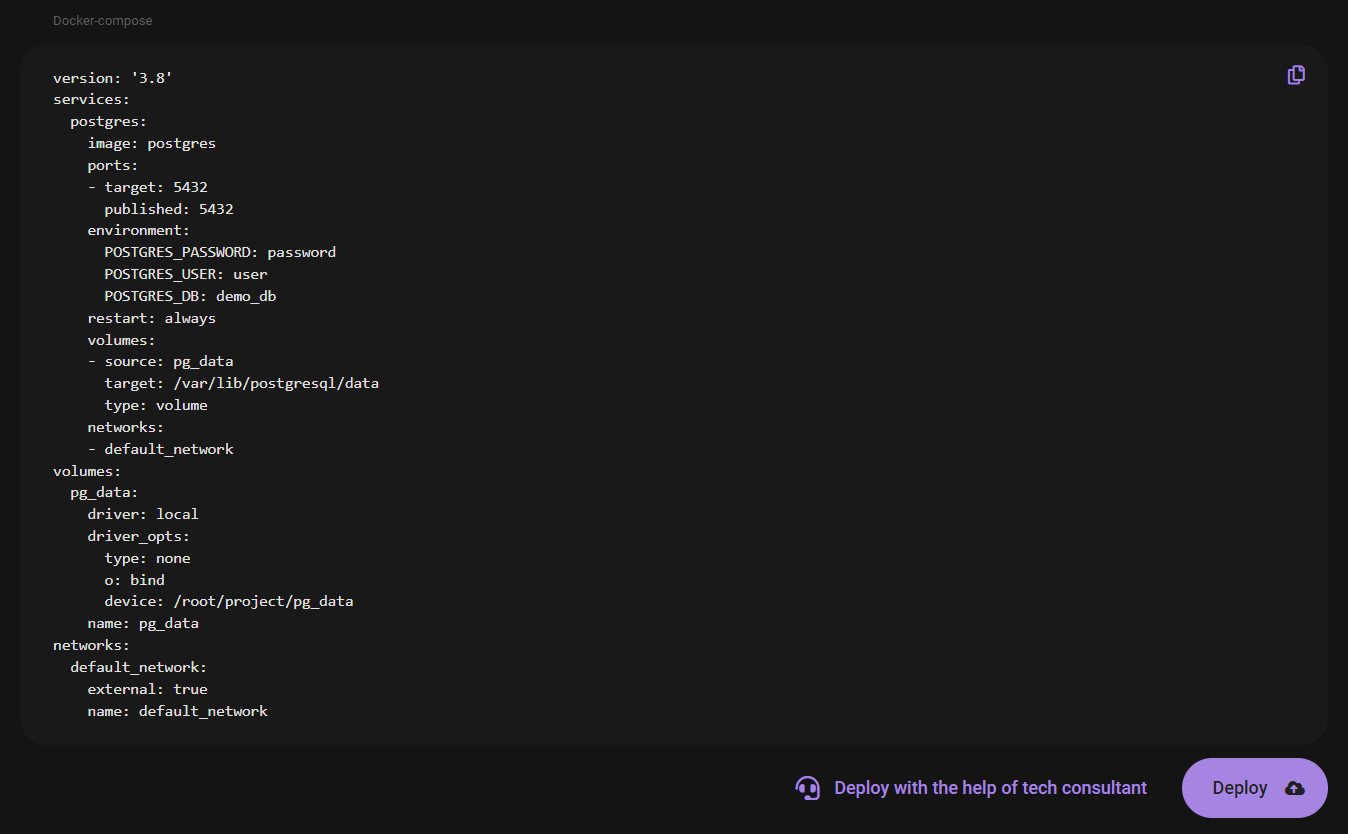
As in the previous example, you can configure the hardware settings to meet your requirements. Once done, click the “Continue” button to view the Docker-compose file.
Review the Docker-compose file carefully, then click the “Deploy” button at the bottom of the screen.
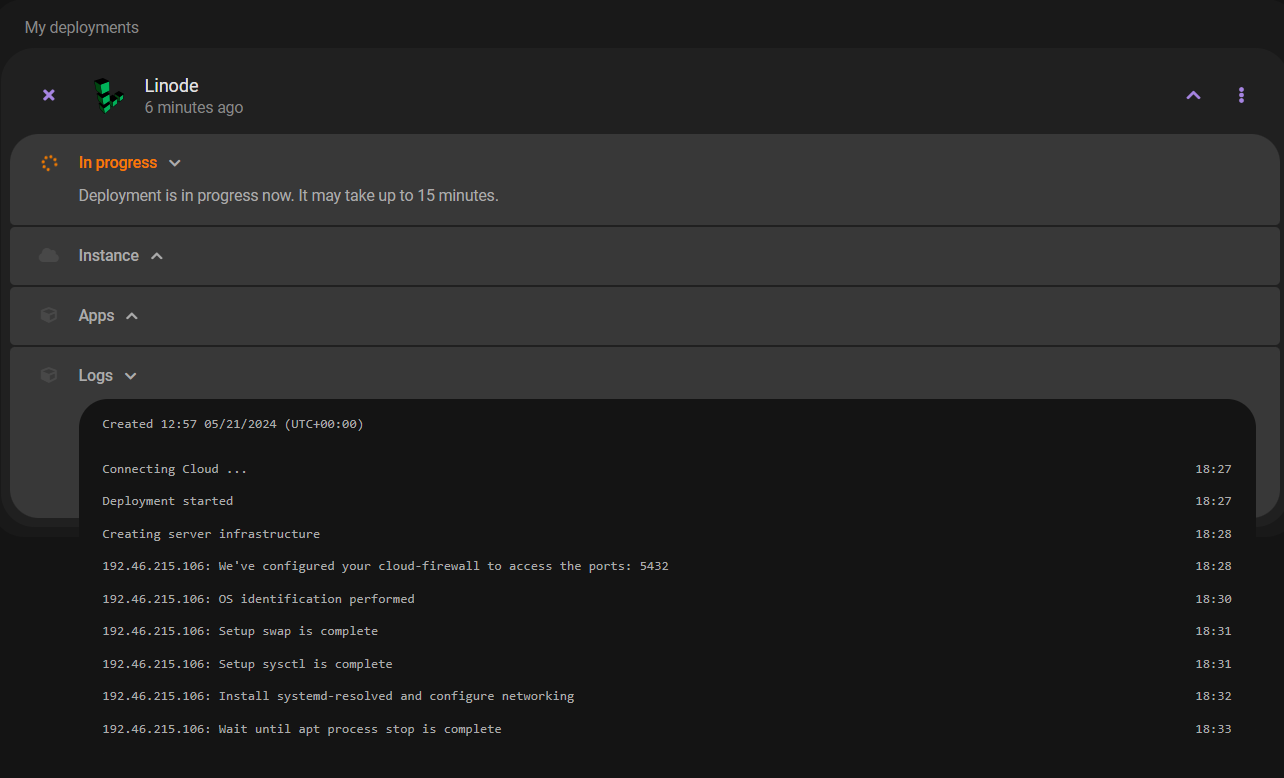
The deployment will set up PostgreSQL on Linode using the parameters you specified. You can monitor the process step-by-step by reviewing the runtime logs.
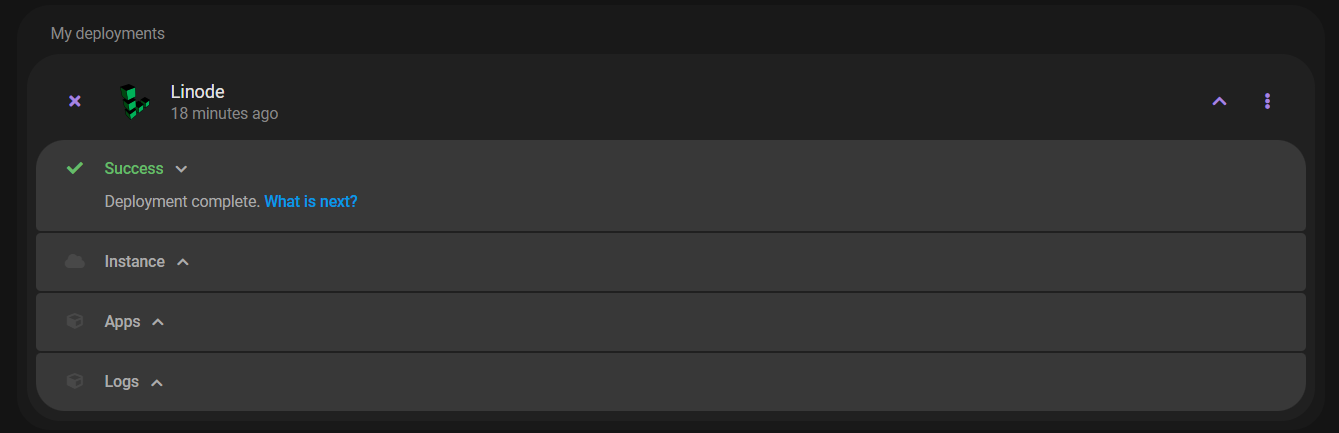
Once the deployment is complete, a success message will appear on your screen. Additionally, the details will be sent to your email.
Let's verify the database and PostgreSQL setup within the Docker container.
Execute the following command inside the container, replacing <username> and <database_name> with your actual username and database name:
psql -U user -d demo_dbType \l, tol see the list of databases.
demo_db=# \lName    | Owner | Encoding | Locale Provider |  Collate   |   Ctype    | ICU Locale | ICU Rules | Access privileges
-----------+-------+----------+-----------------+------------+------------+------------+-----------+-------------------
 demo_db   | user  | UTF8     | libc            | en_US.utf8 | en_US.utf8 |            |           |
 postgres  | user  | UTF8     | libc            | en_US.utf8 | en_US.utf8 |            |           |
 template0 | user  | UTF8     | libc            | en_US.utf8 | en_US.utf8 |            |           | =c/user          +
           |       |          |                 |            |            |            |           | user=CTc/user
 template1 | user  | UTF8     | libc            | en_US.utf8 | en_US.utf8 |            |           | =c/user          +
           |       |          |                 |            |            |            |           | user=CTc/user
(4 rows)

demo_db=#
As you can see the database is created. In this example, we have successfully set up PostgreSQL on Linode using STACK BUILDER.