What is Nginx Proxy Manager
Nginx Proxy Manager is a user-friendly software application designed to effortlessly route traffic to your websites, whether they're hosted at home or elsewhere. It comes equipped with free SSL capabilities, eliminating the need for extensive Nginx or Letsencrypt knowledge. This tool proves especially handy for simplifying SSL generation and seamlessly proxying your docker containers.
How to use Nginx Proxy Manager
Nginx Proxy Manager stands as an optional but highly recommended companion application. Its inclusion is particularly beneficial when managing multiple web applications in the backend. We also recommend to include Portainer CE.
Once the deployment is complete, you need to configure the proxy host in the Nginx Proxy manager.
At First, you need to associate your domain name with the public IP of your new server!
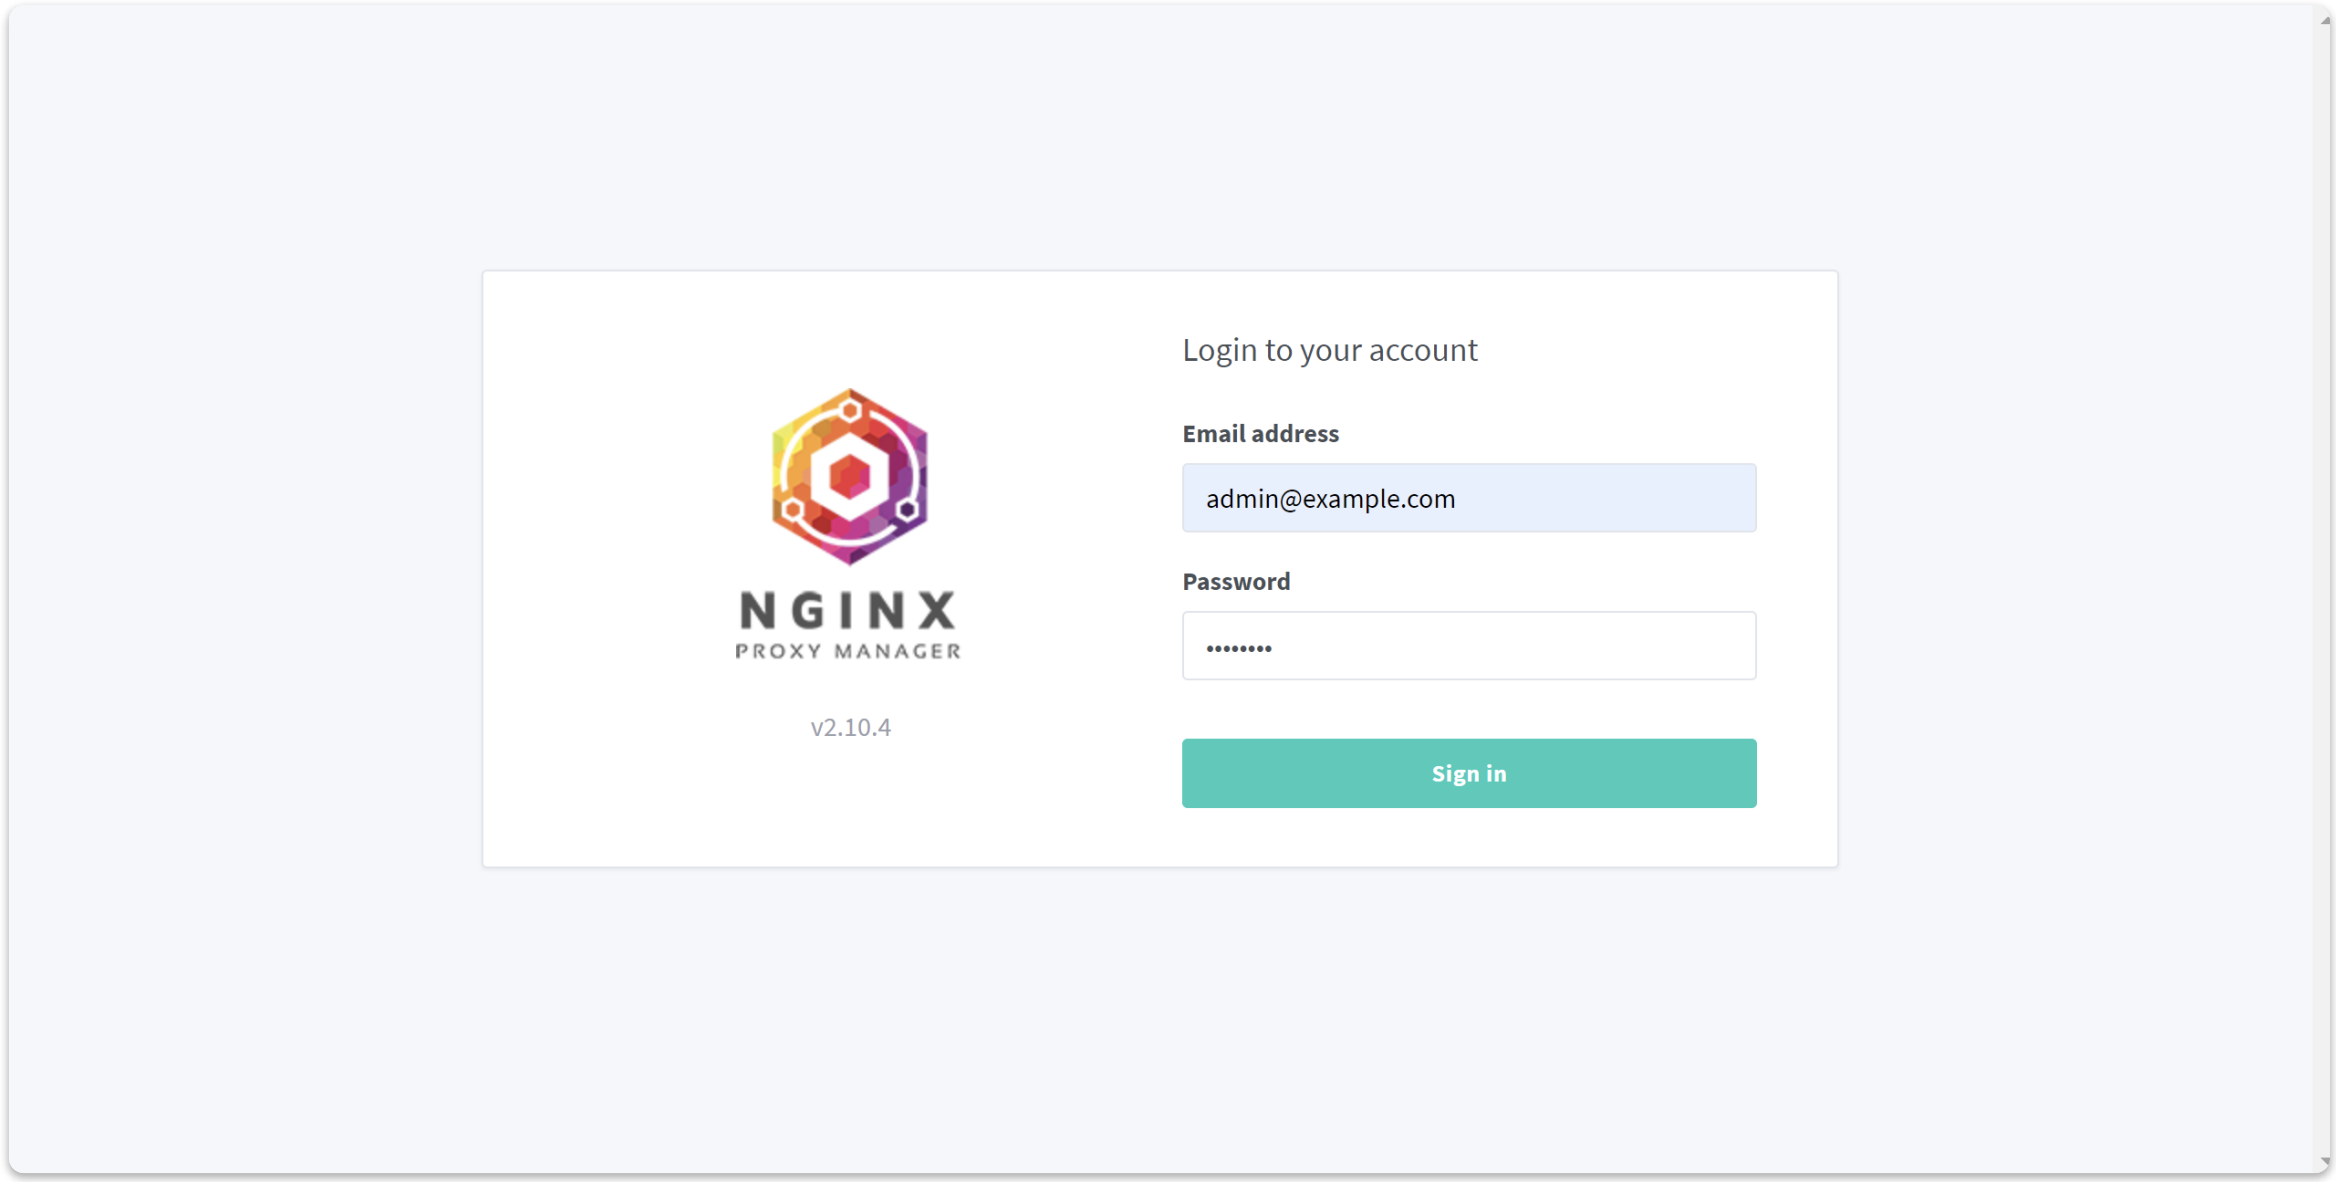
- Open http://<your_server_public_ip>:81 in your browser and enter the following credentials:
- Login: admin@example.com
- Password: changeme
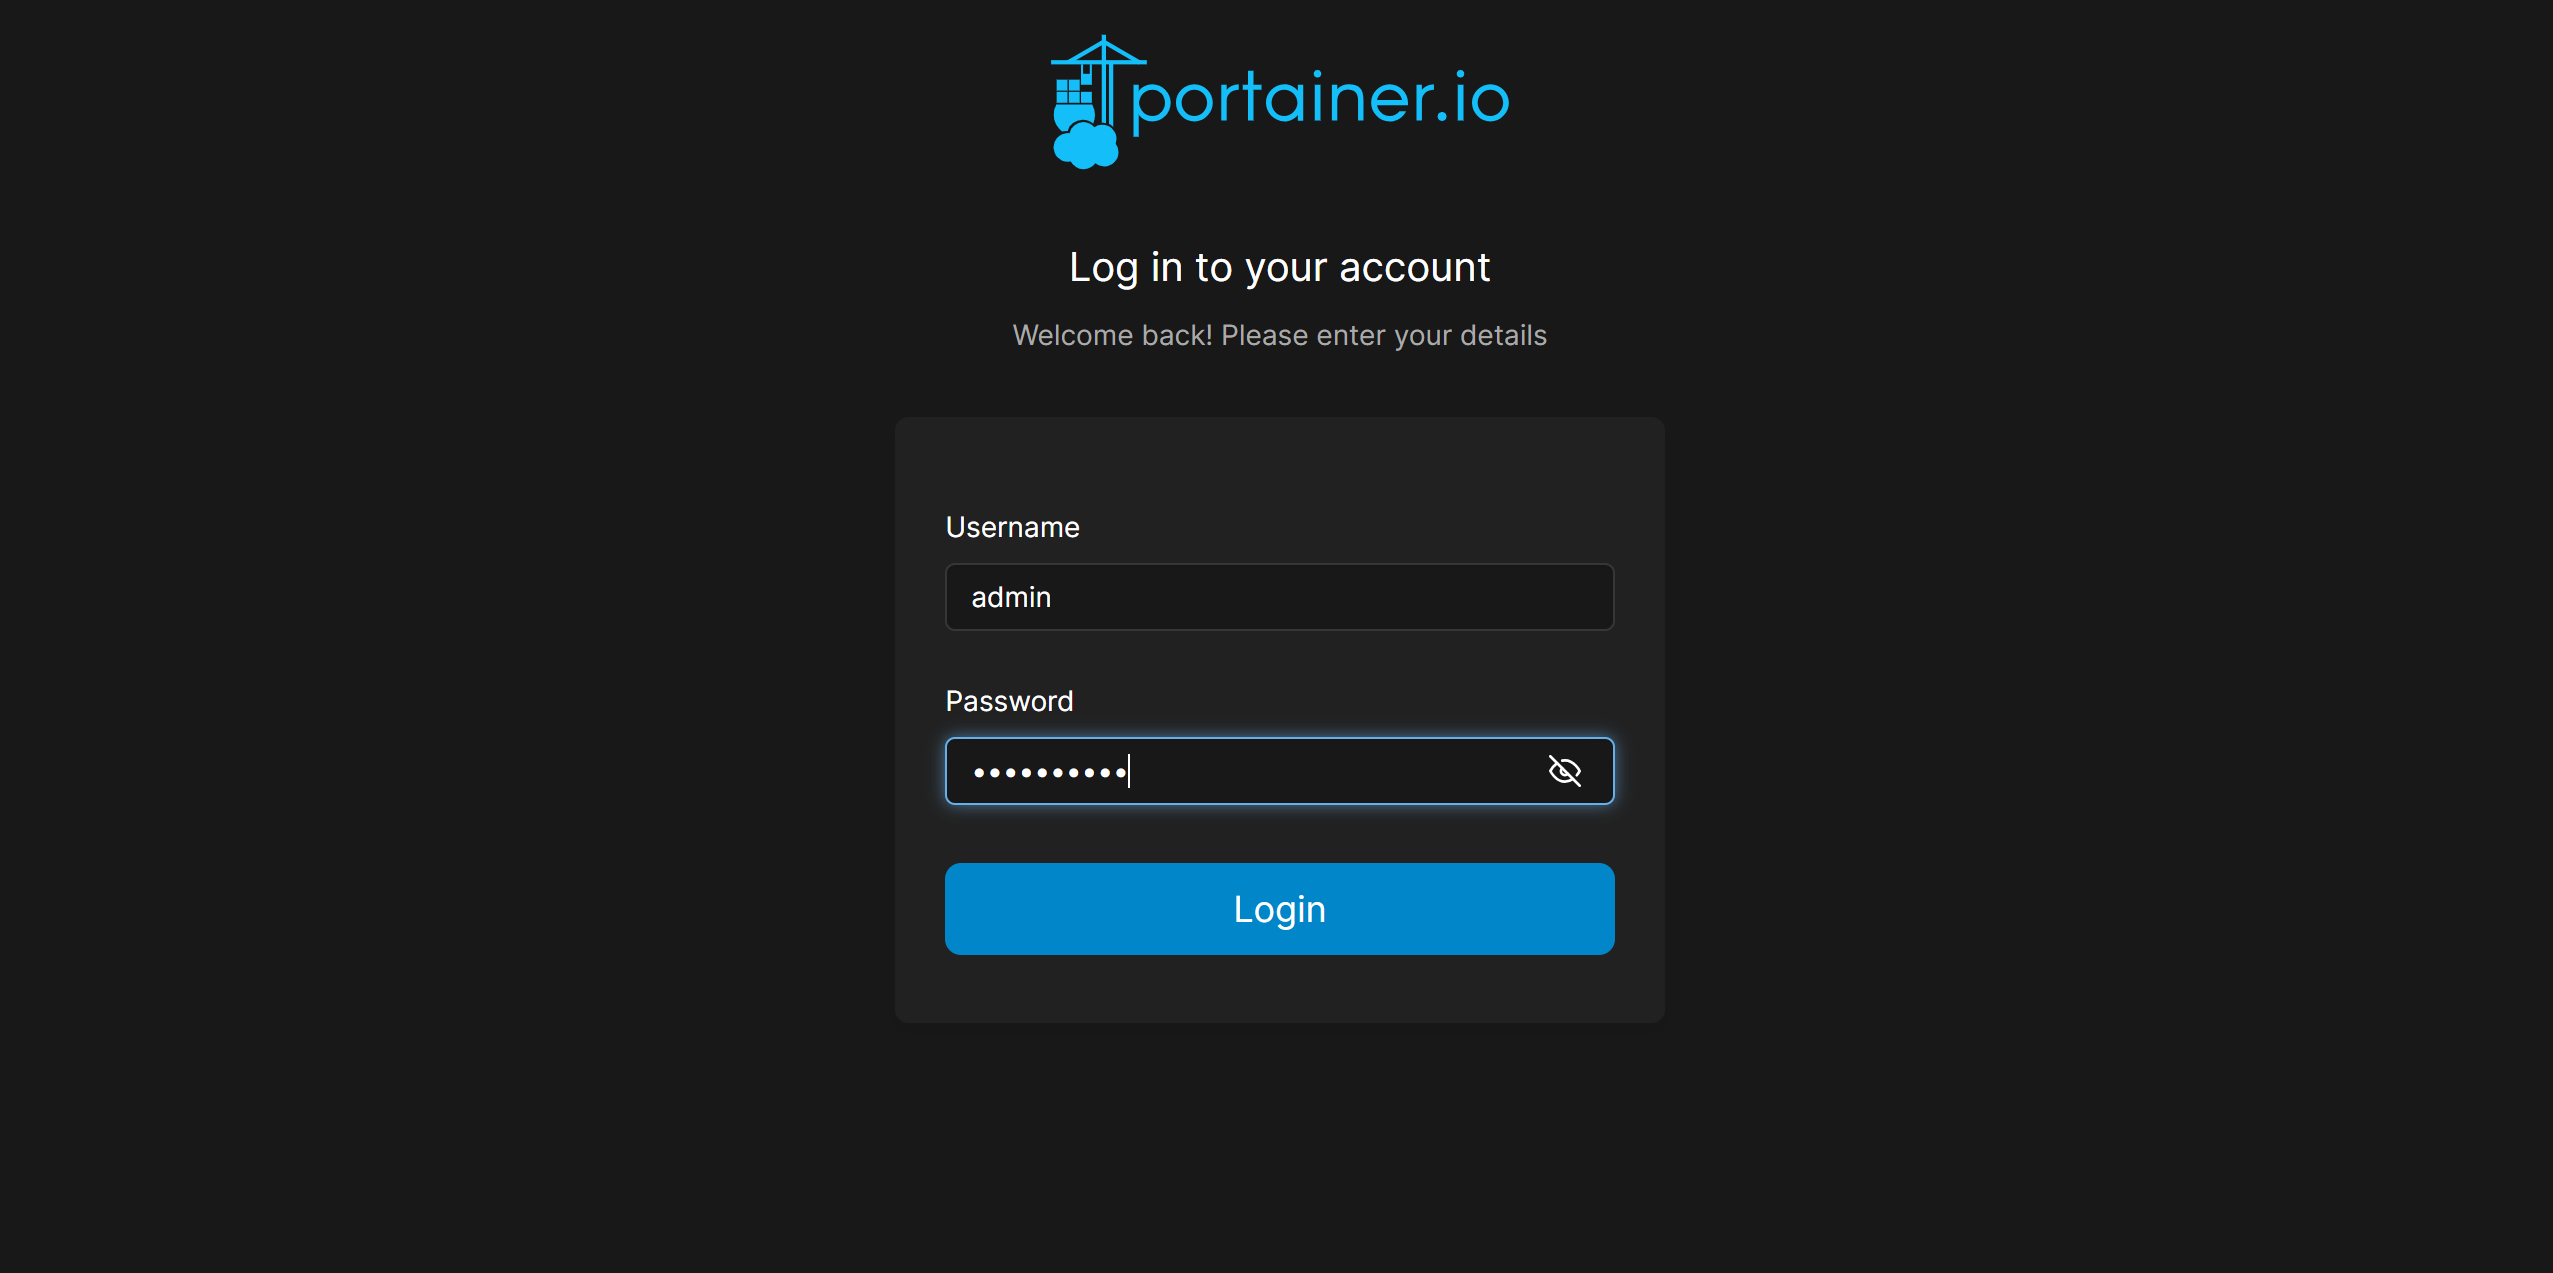
2. Next, log in to Portainer to identify the hostname to be used for proxying traffic. (You should receive the link to Portainer and the credentials in the email attached within the PDF file.)
3. Upon accessing Portainer, navigate to the "Environments" section and select "local."
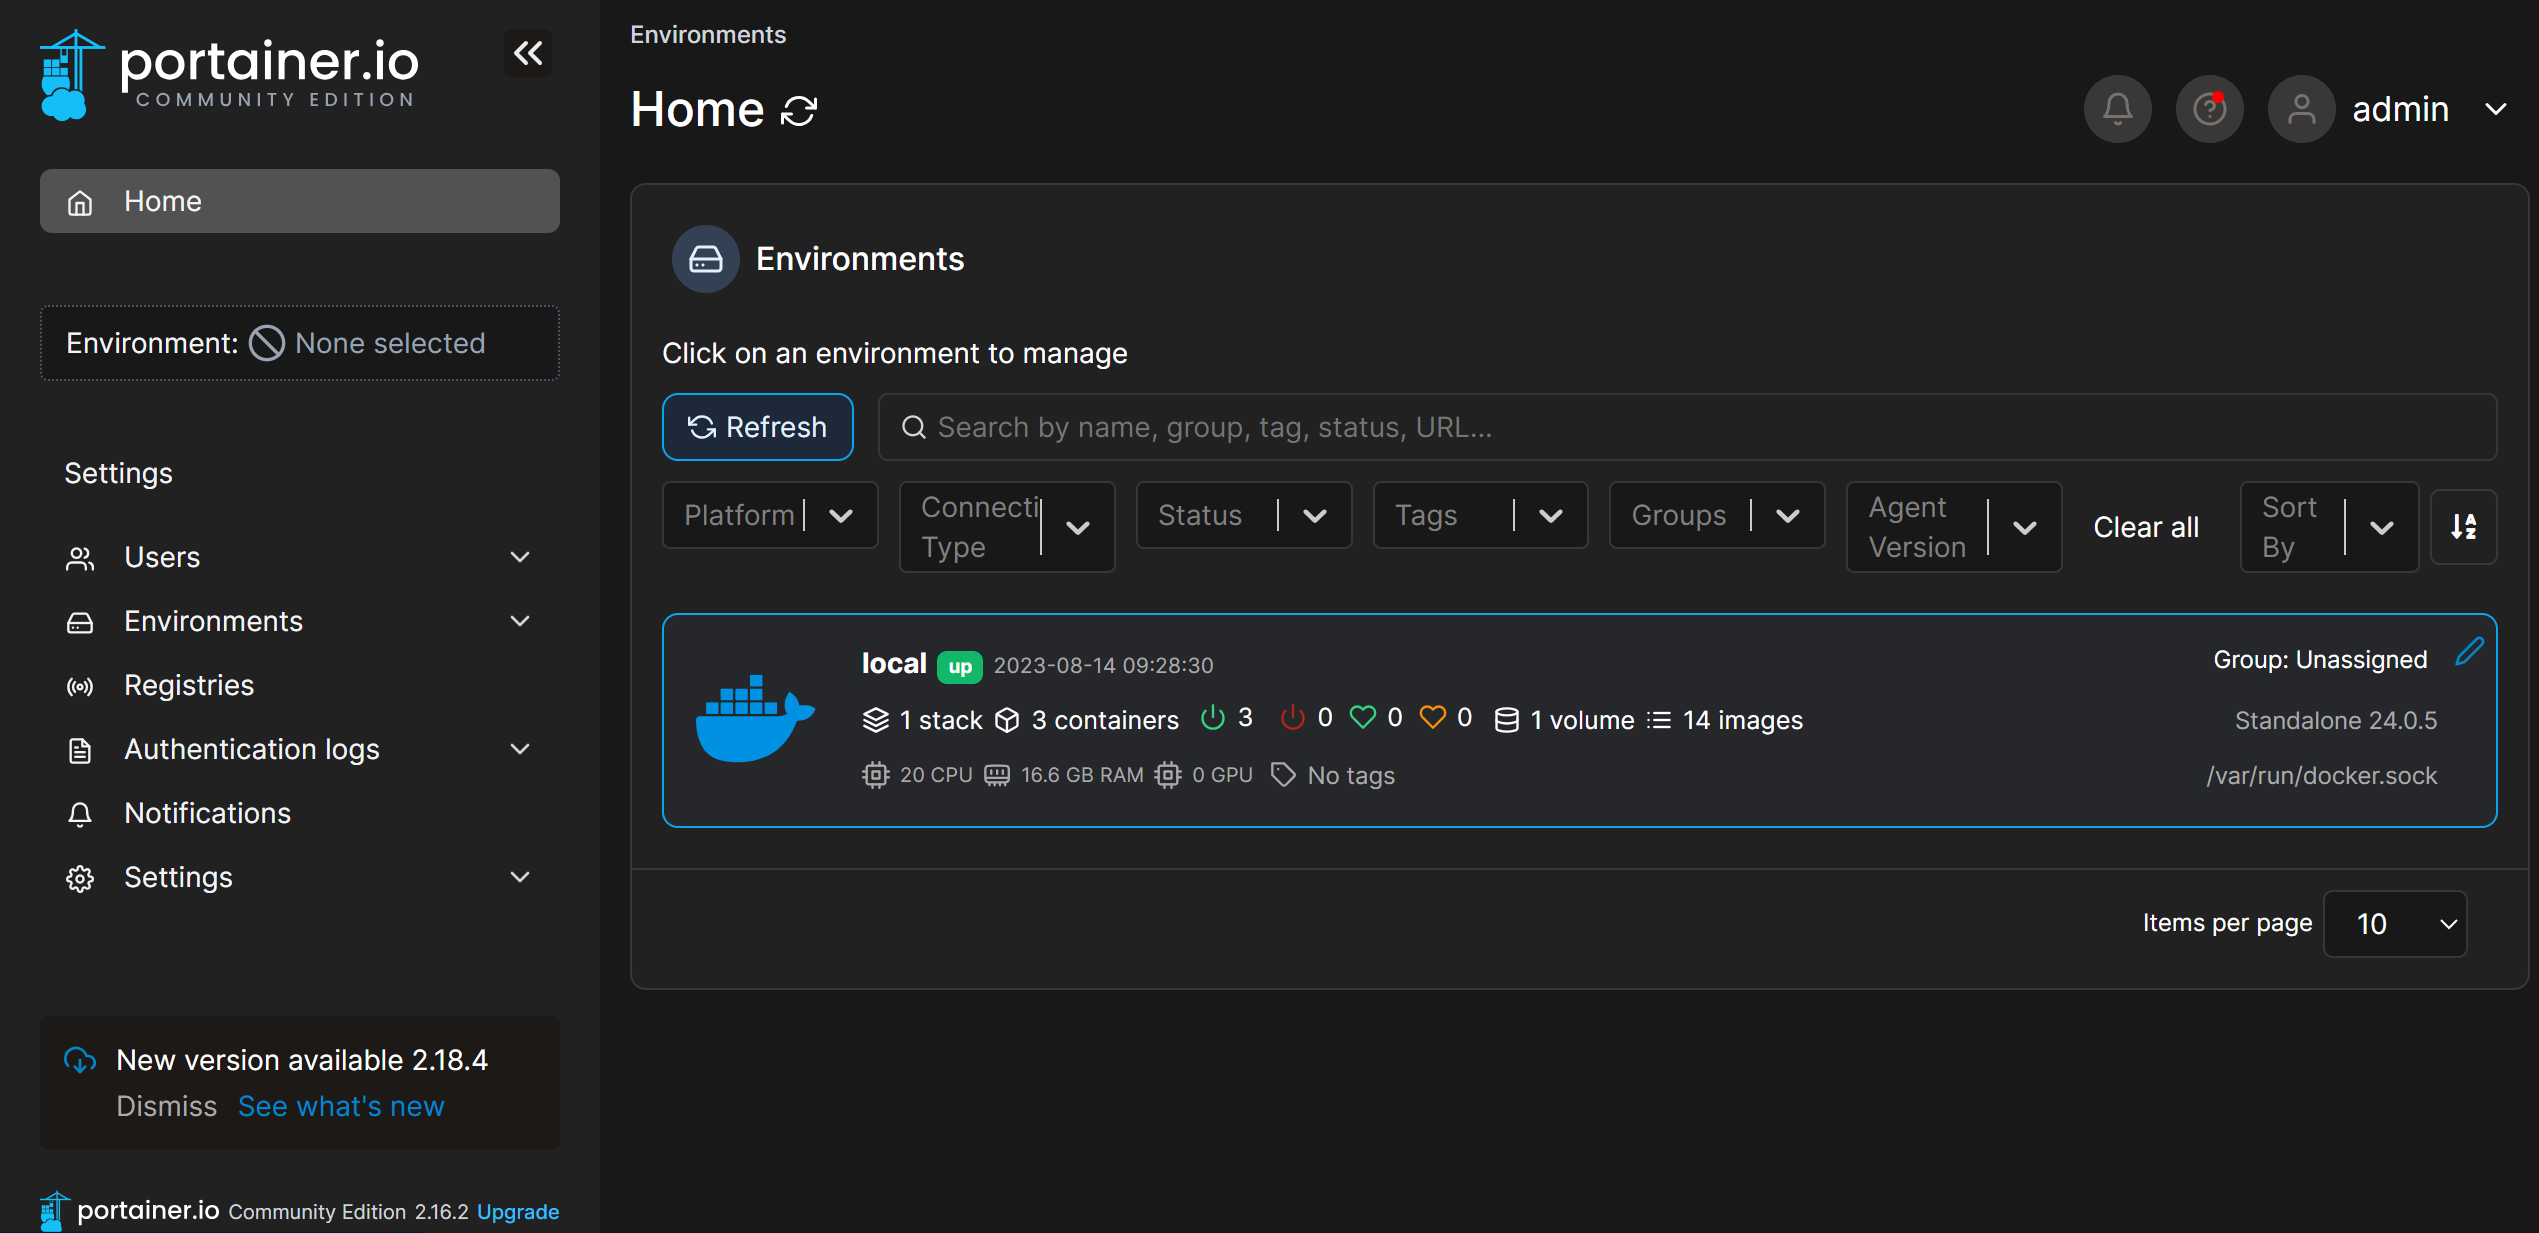
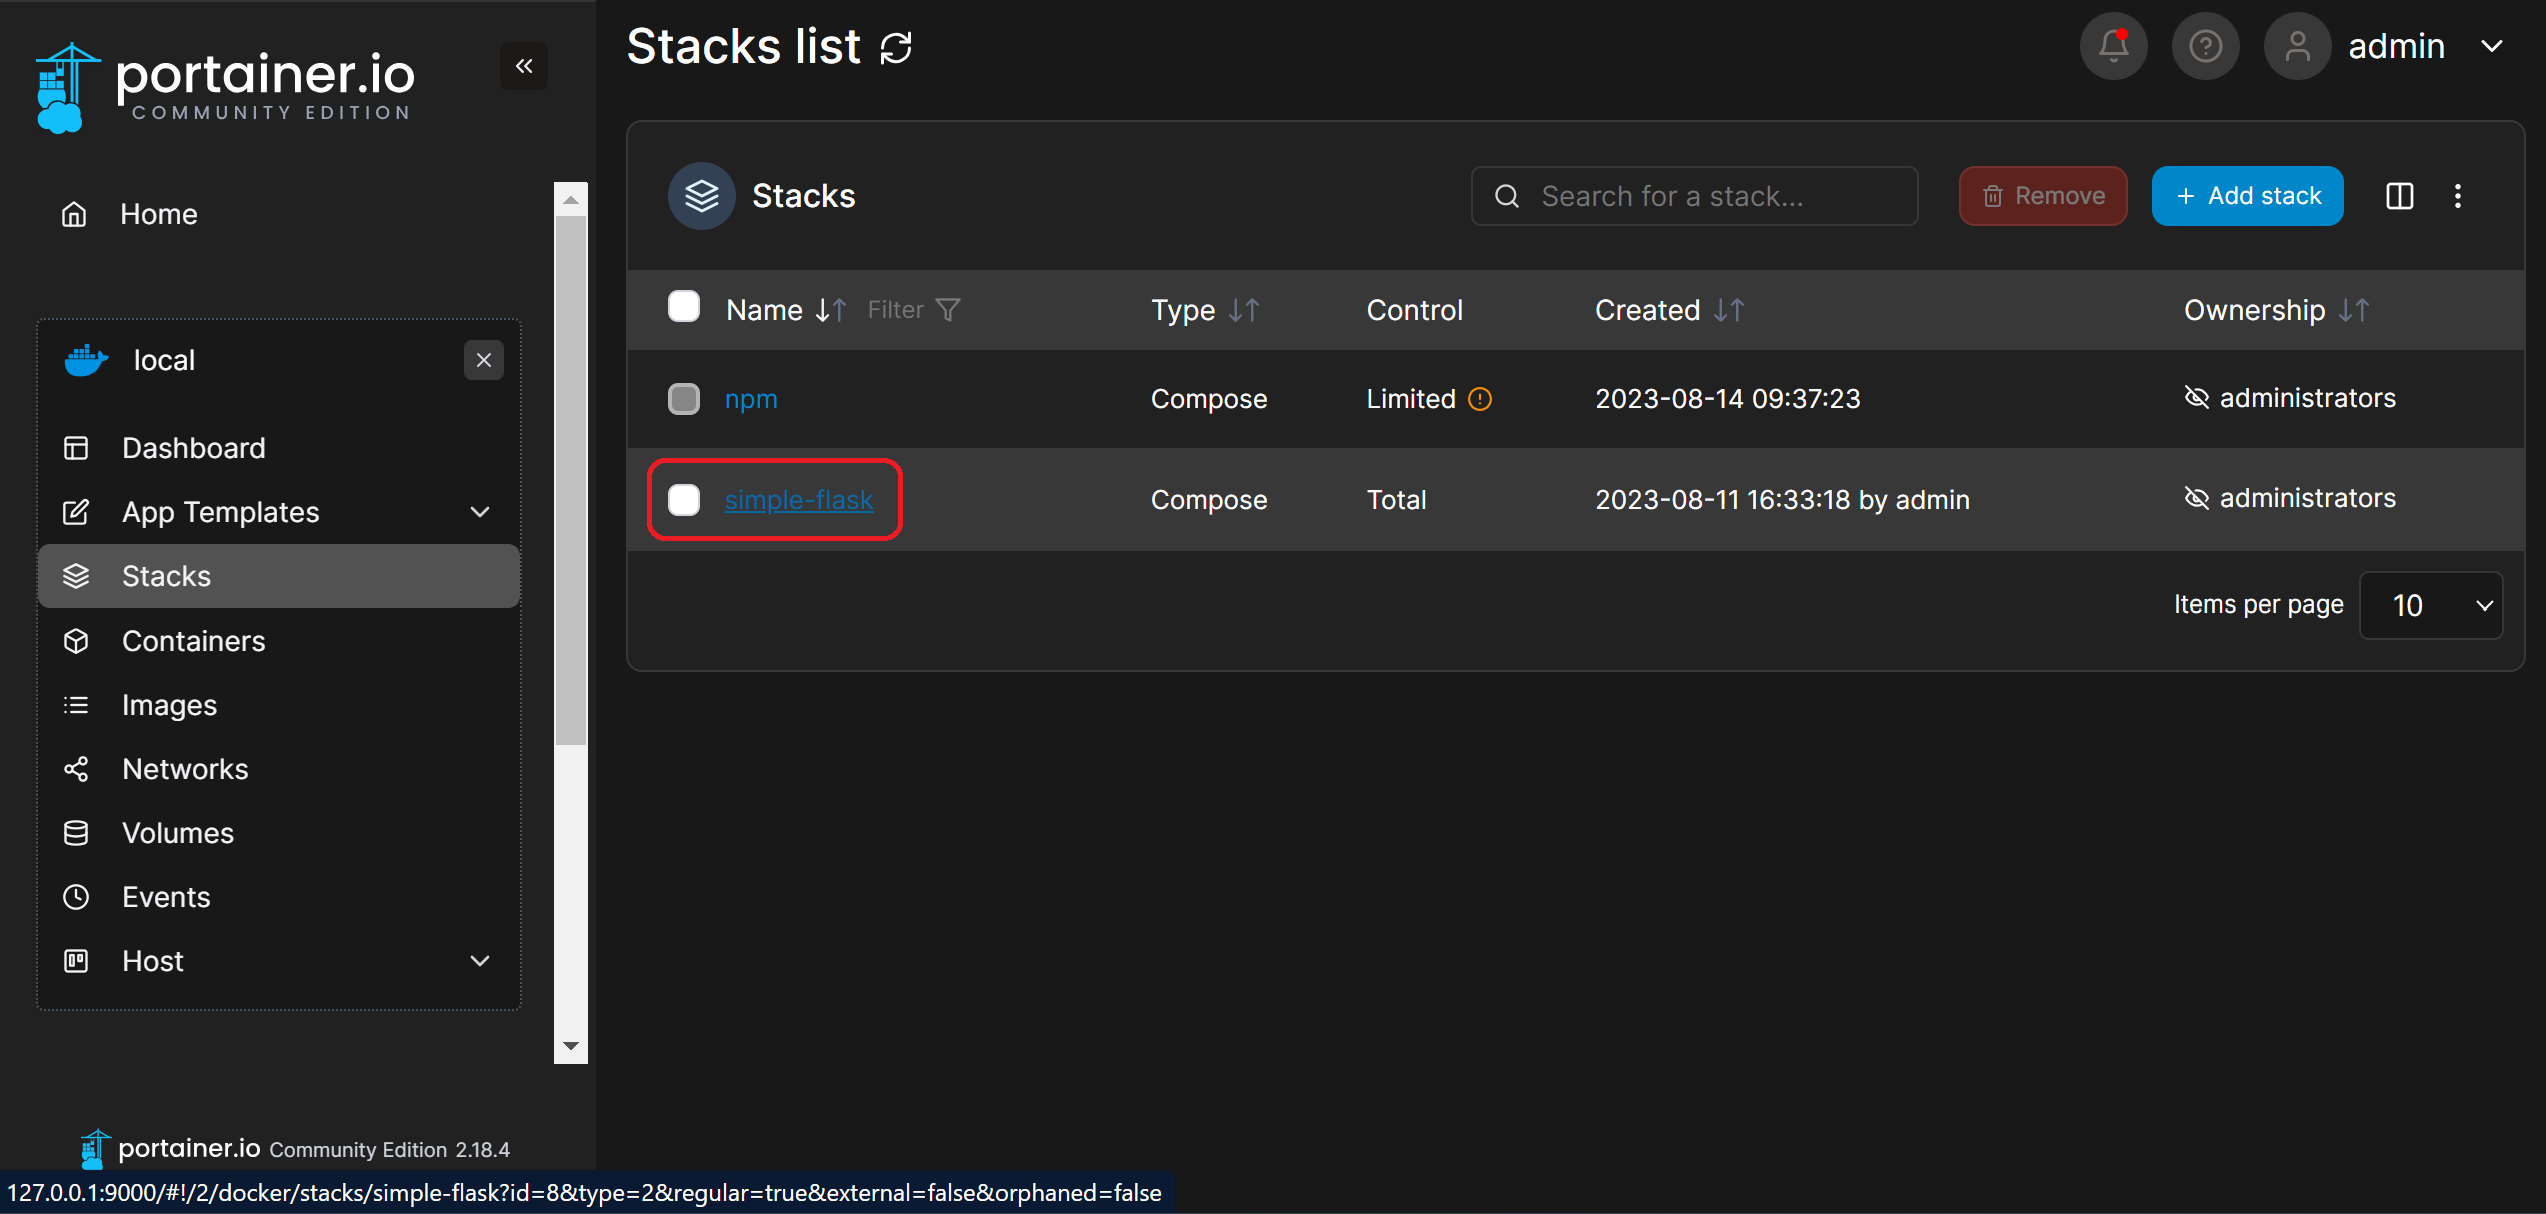
4. Proceed to "Stacks."
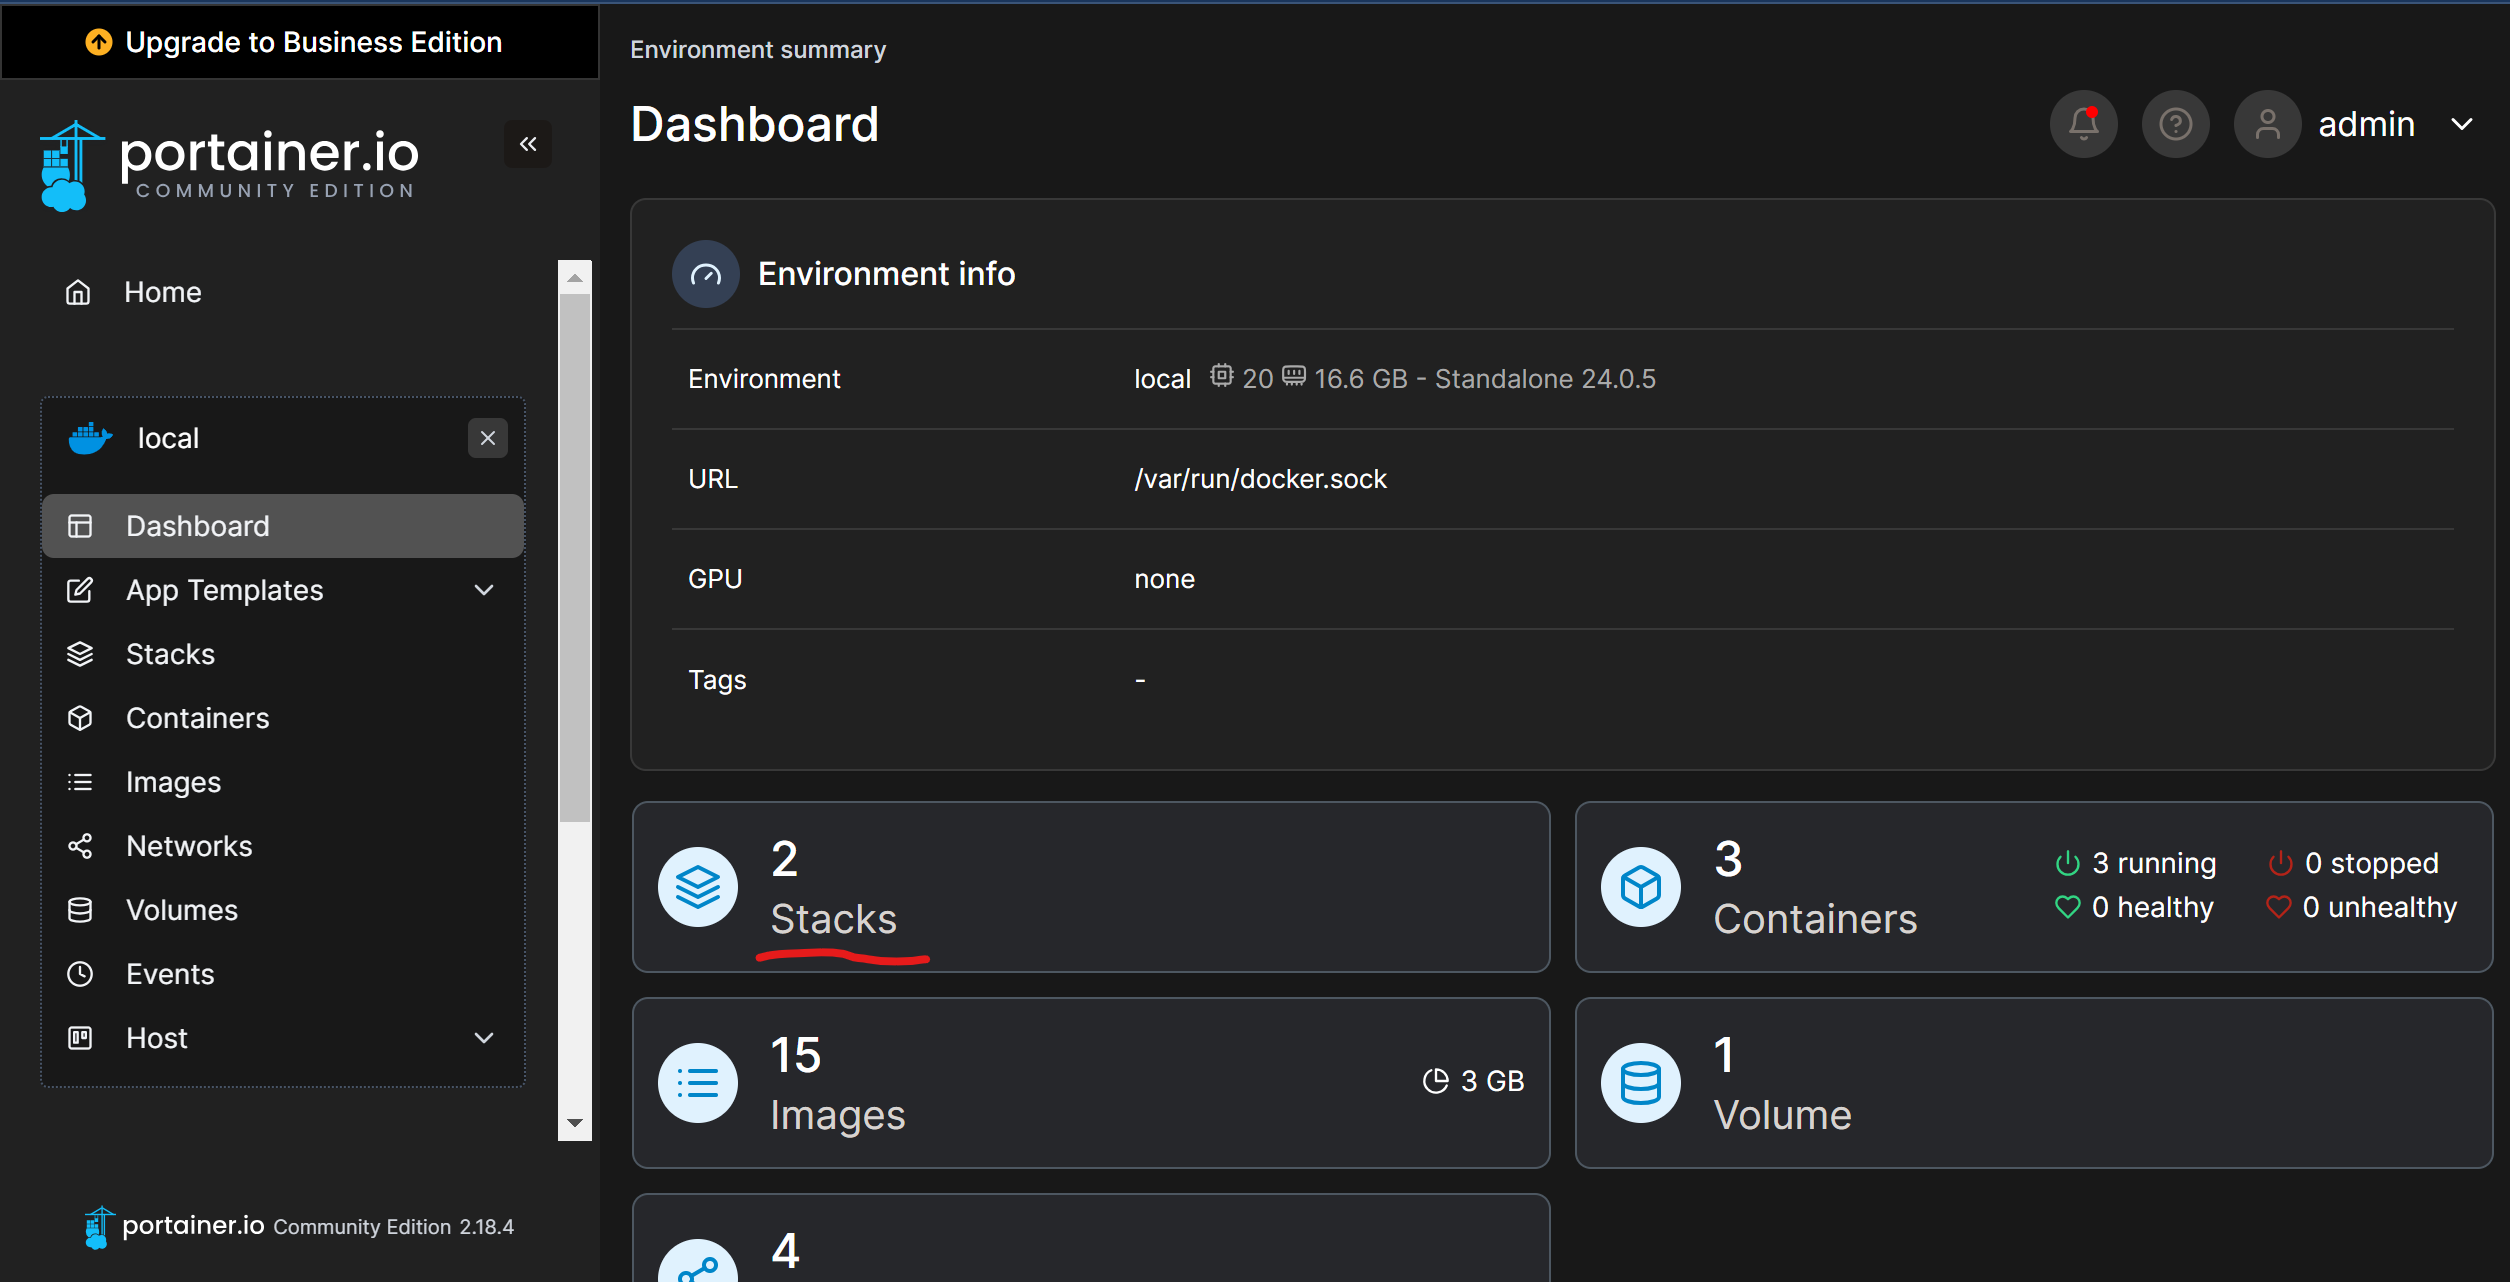
Here, you will find a list of all applications deployed with Docker. In our case, our target is the "simple-flask" application, so click on it.
Note the required hostname, in our case, it's "flask-app," and observe that it operates on port 5000. Your specific application might use a different hostname and port configuration, depending on your chosen exposed application.
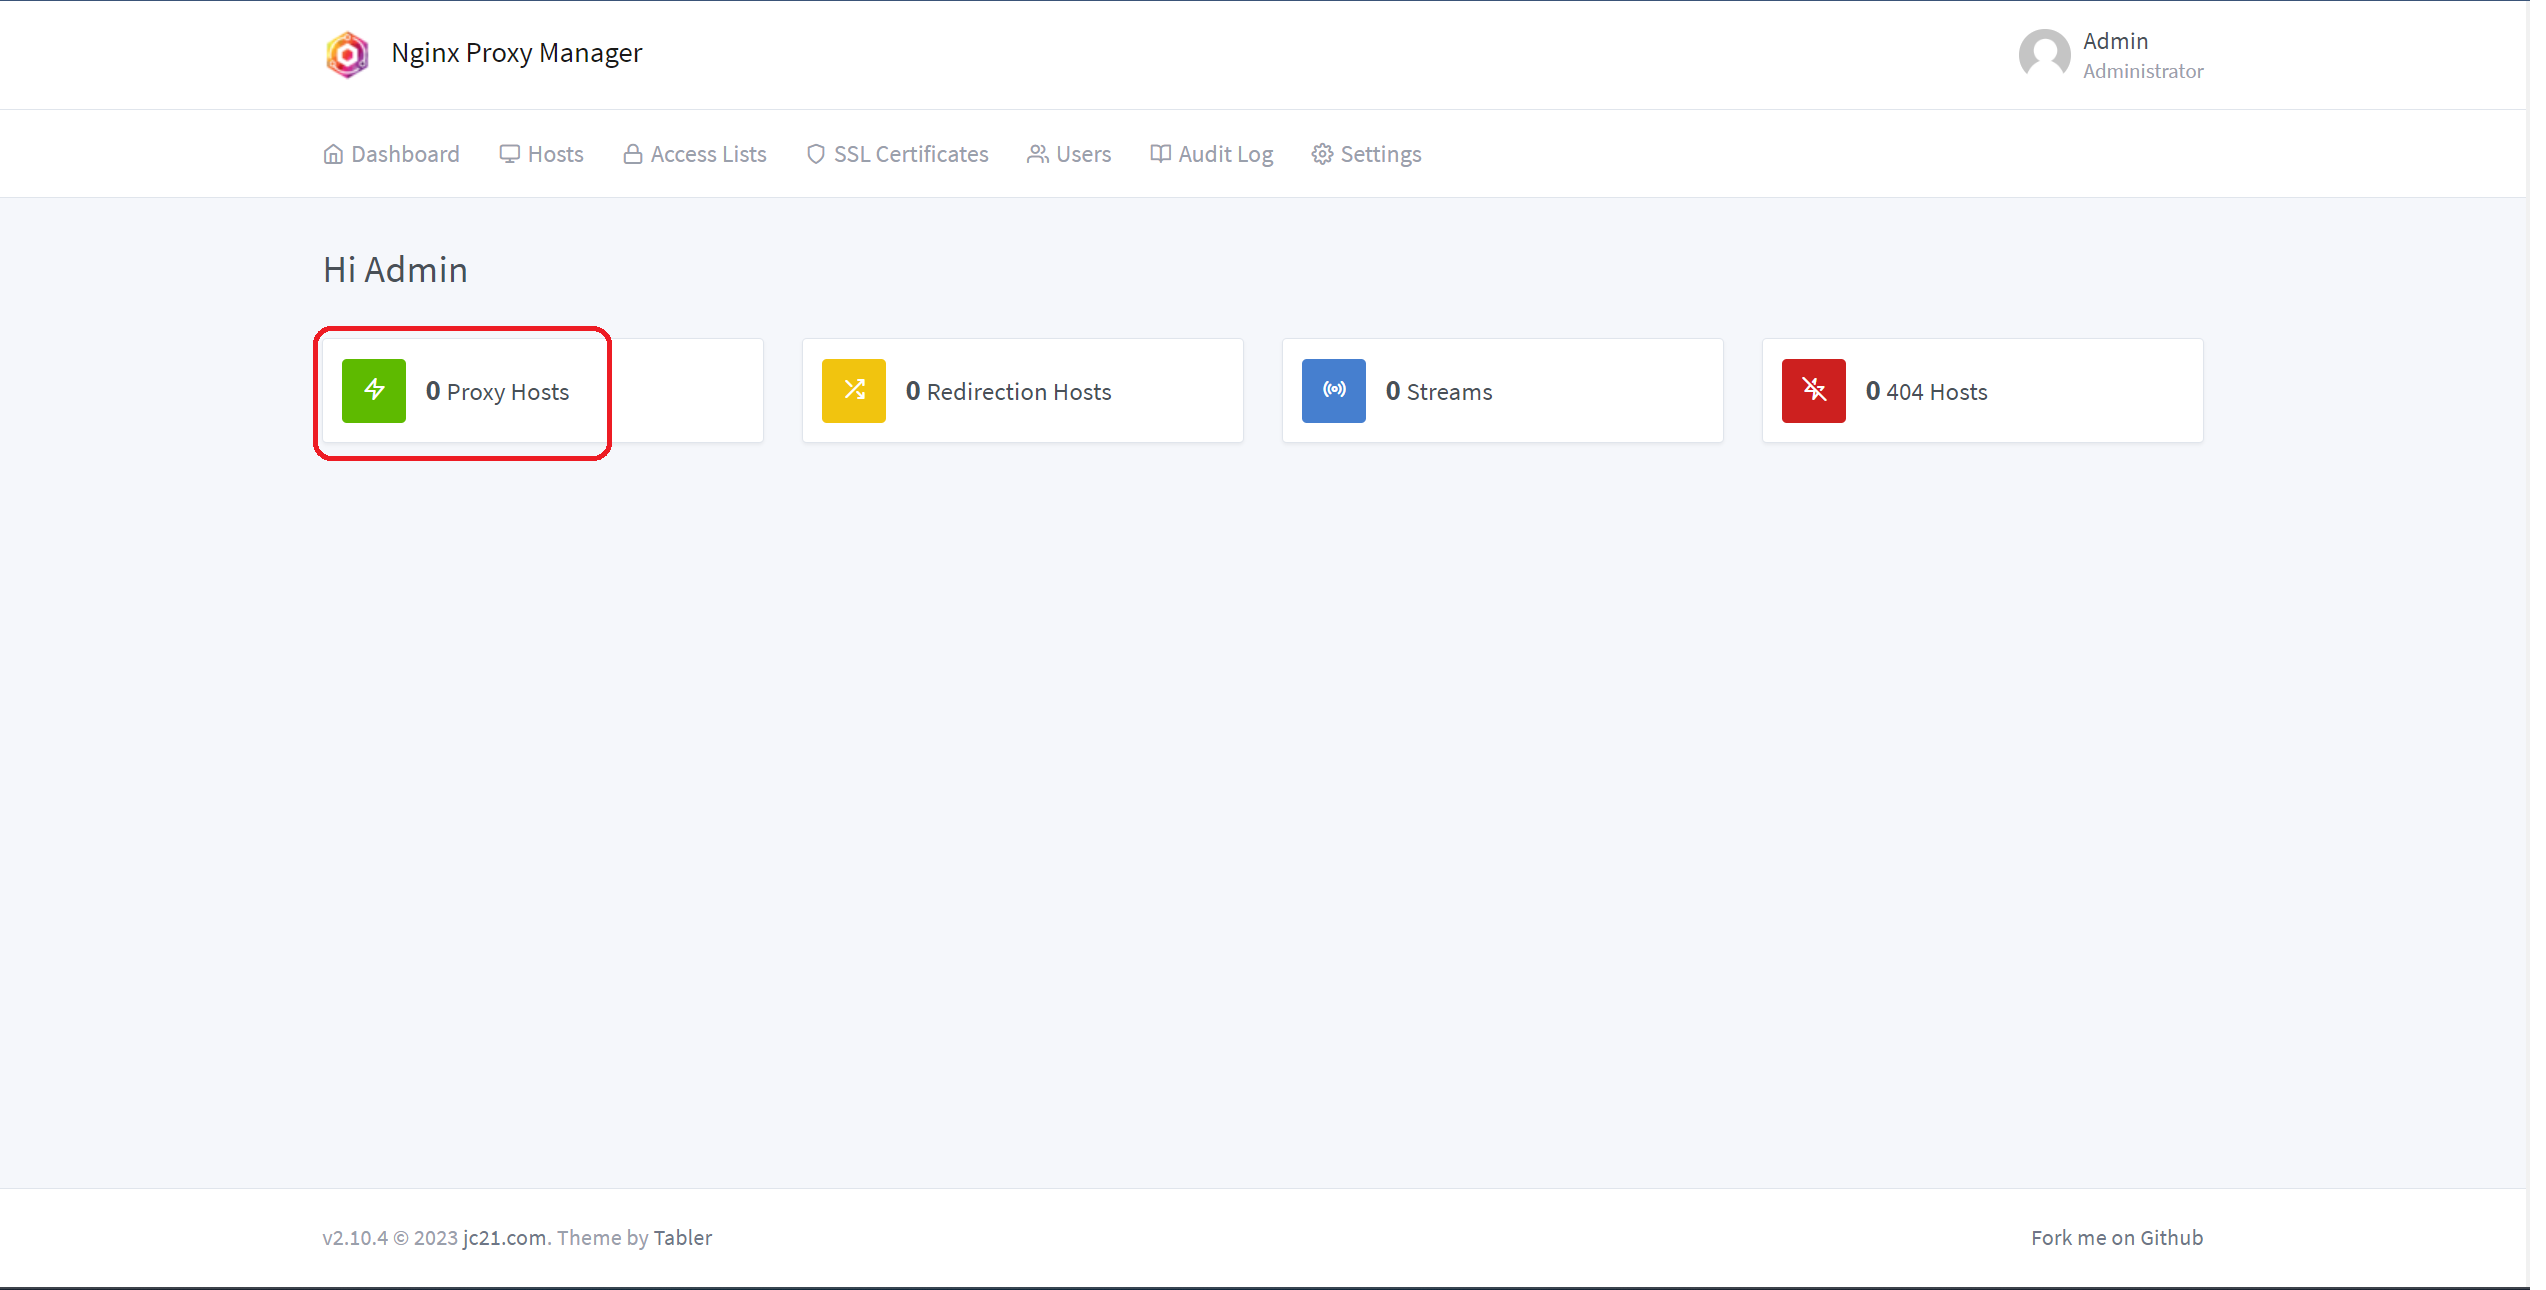
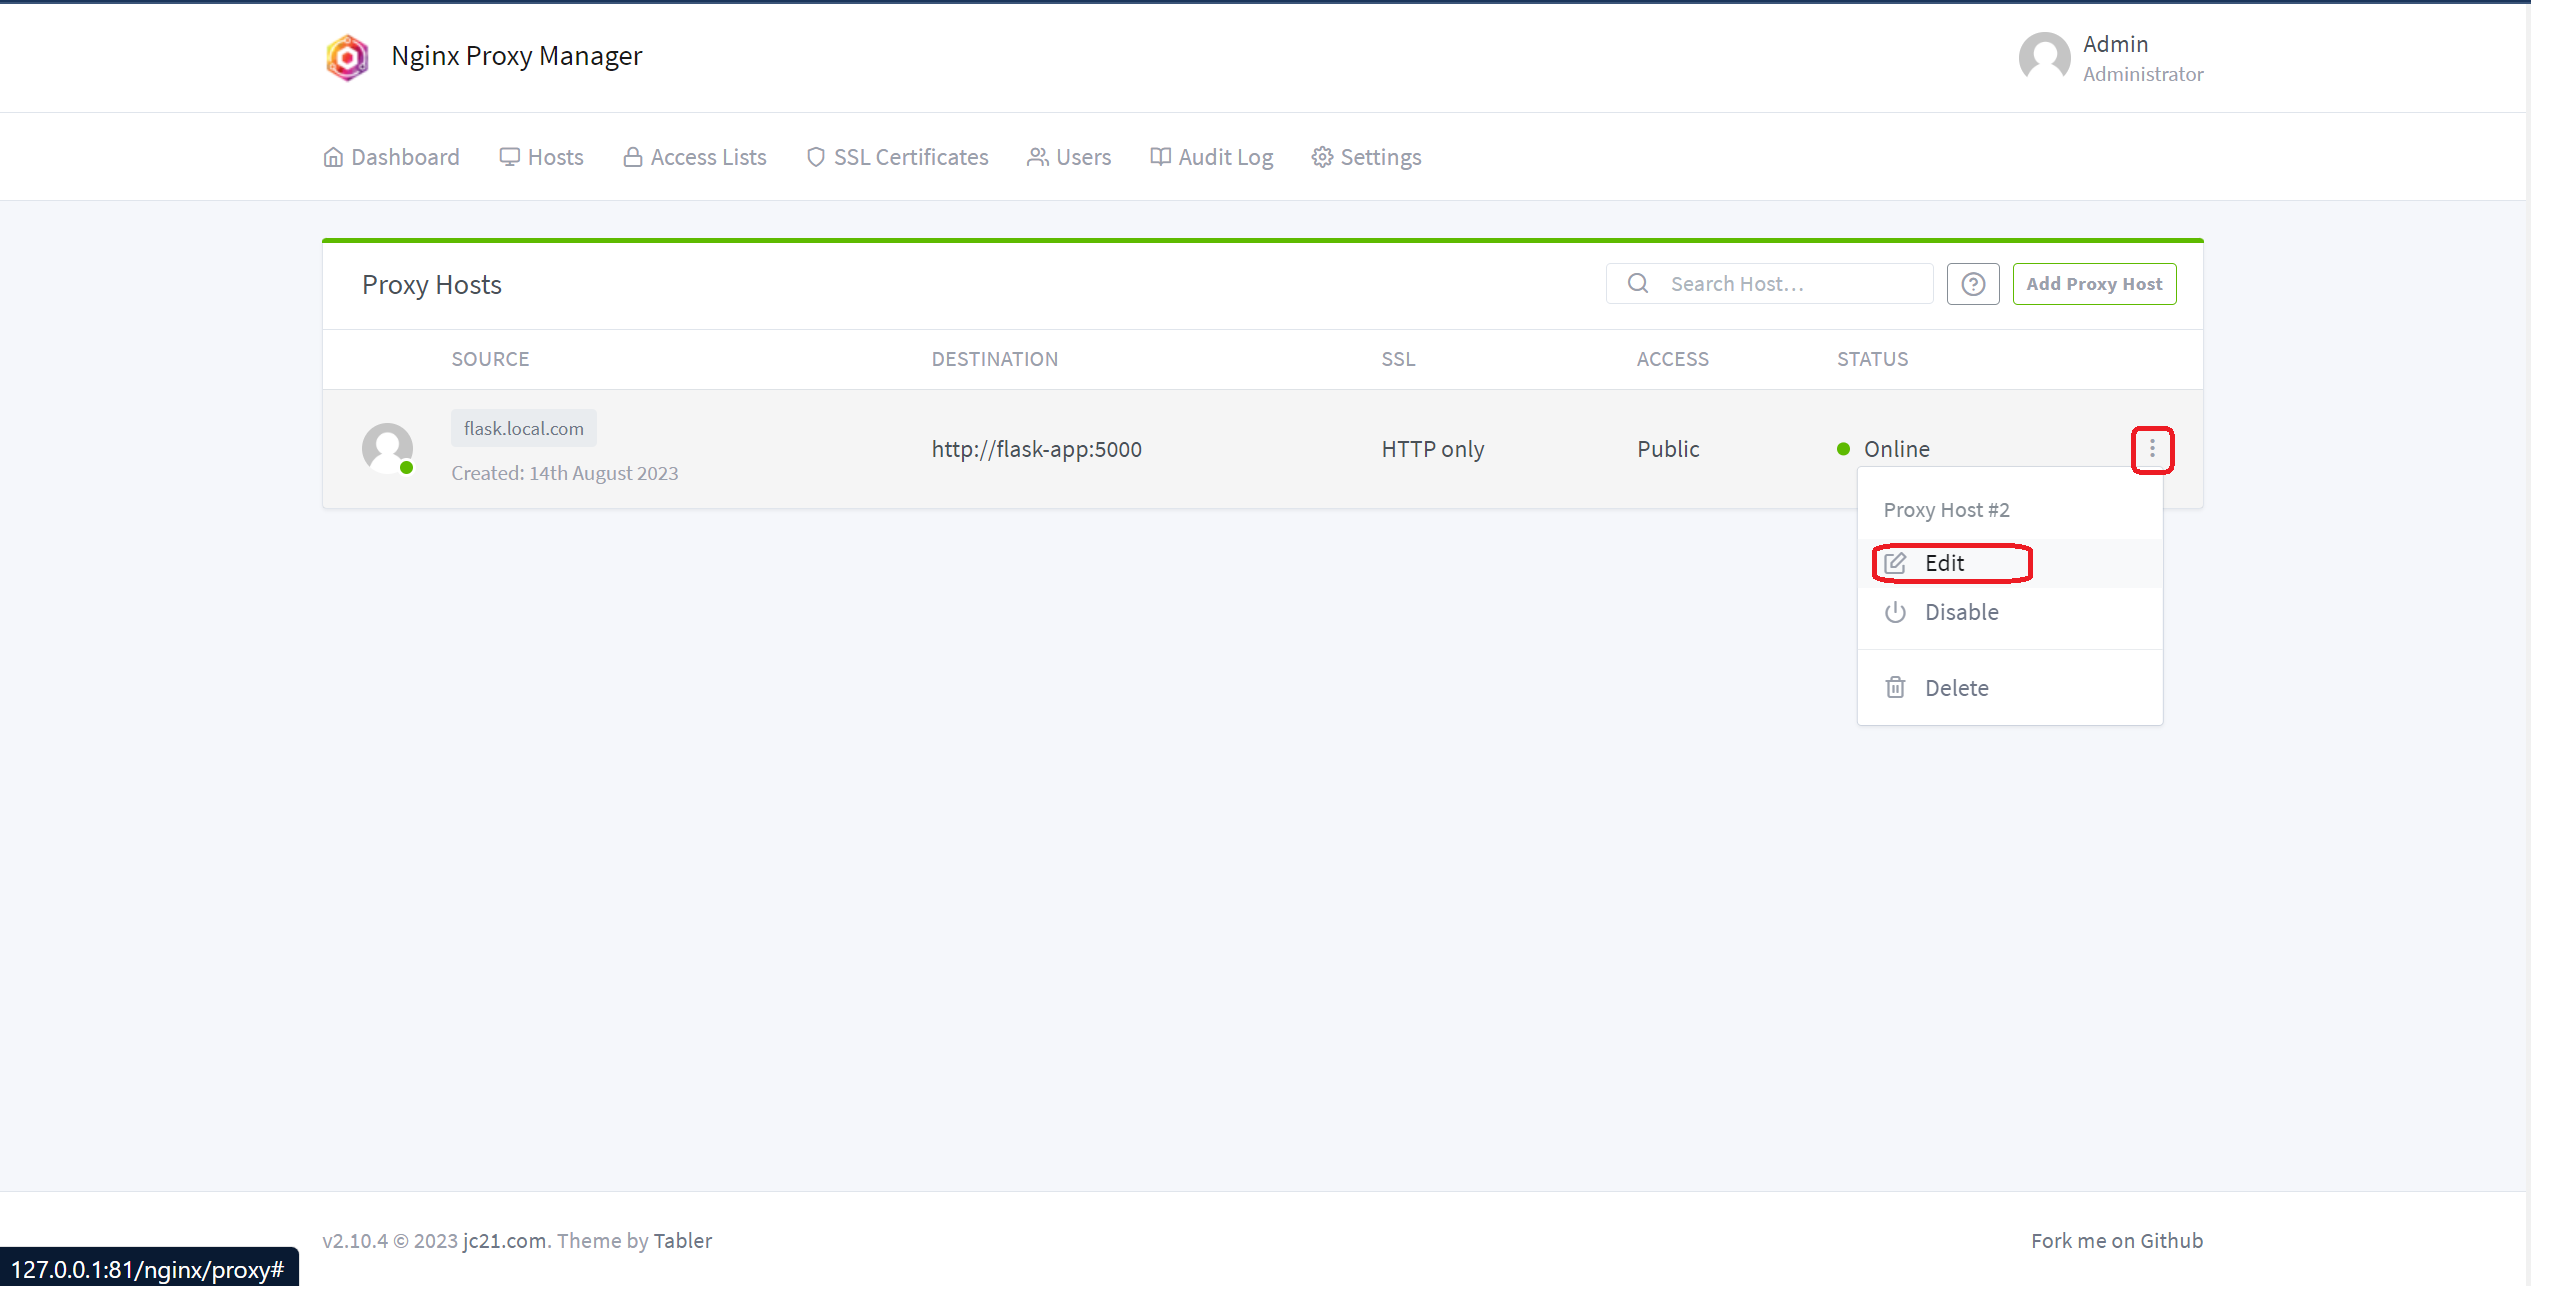
5. The next step involves routing traffic to the chosen application through the Nginx Proxy Manager. While logged into Nginx PM, navigate to "Proxy Hosts."
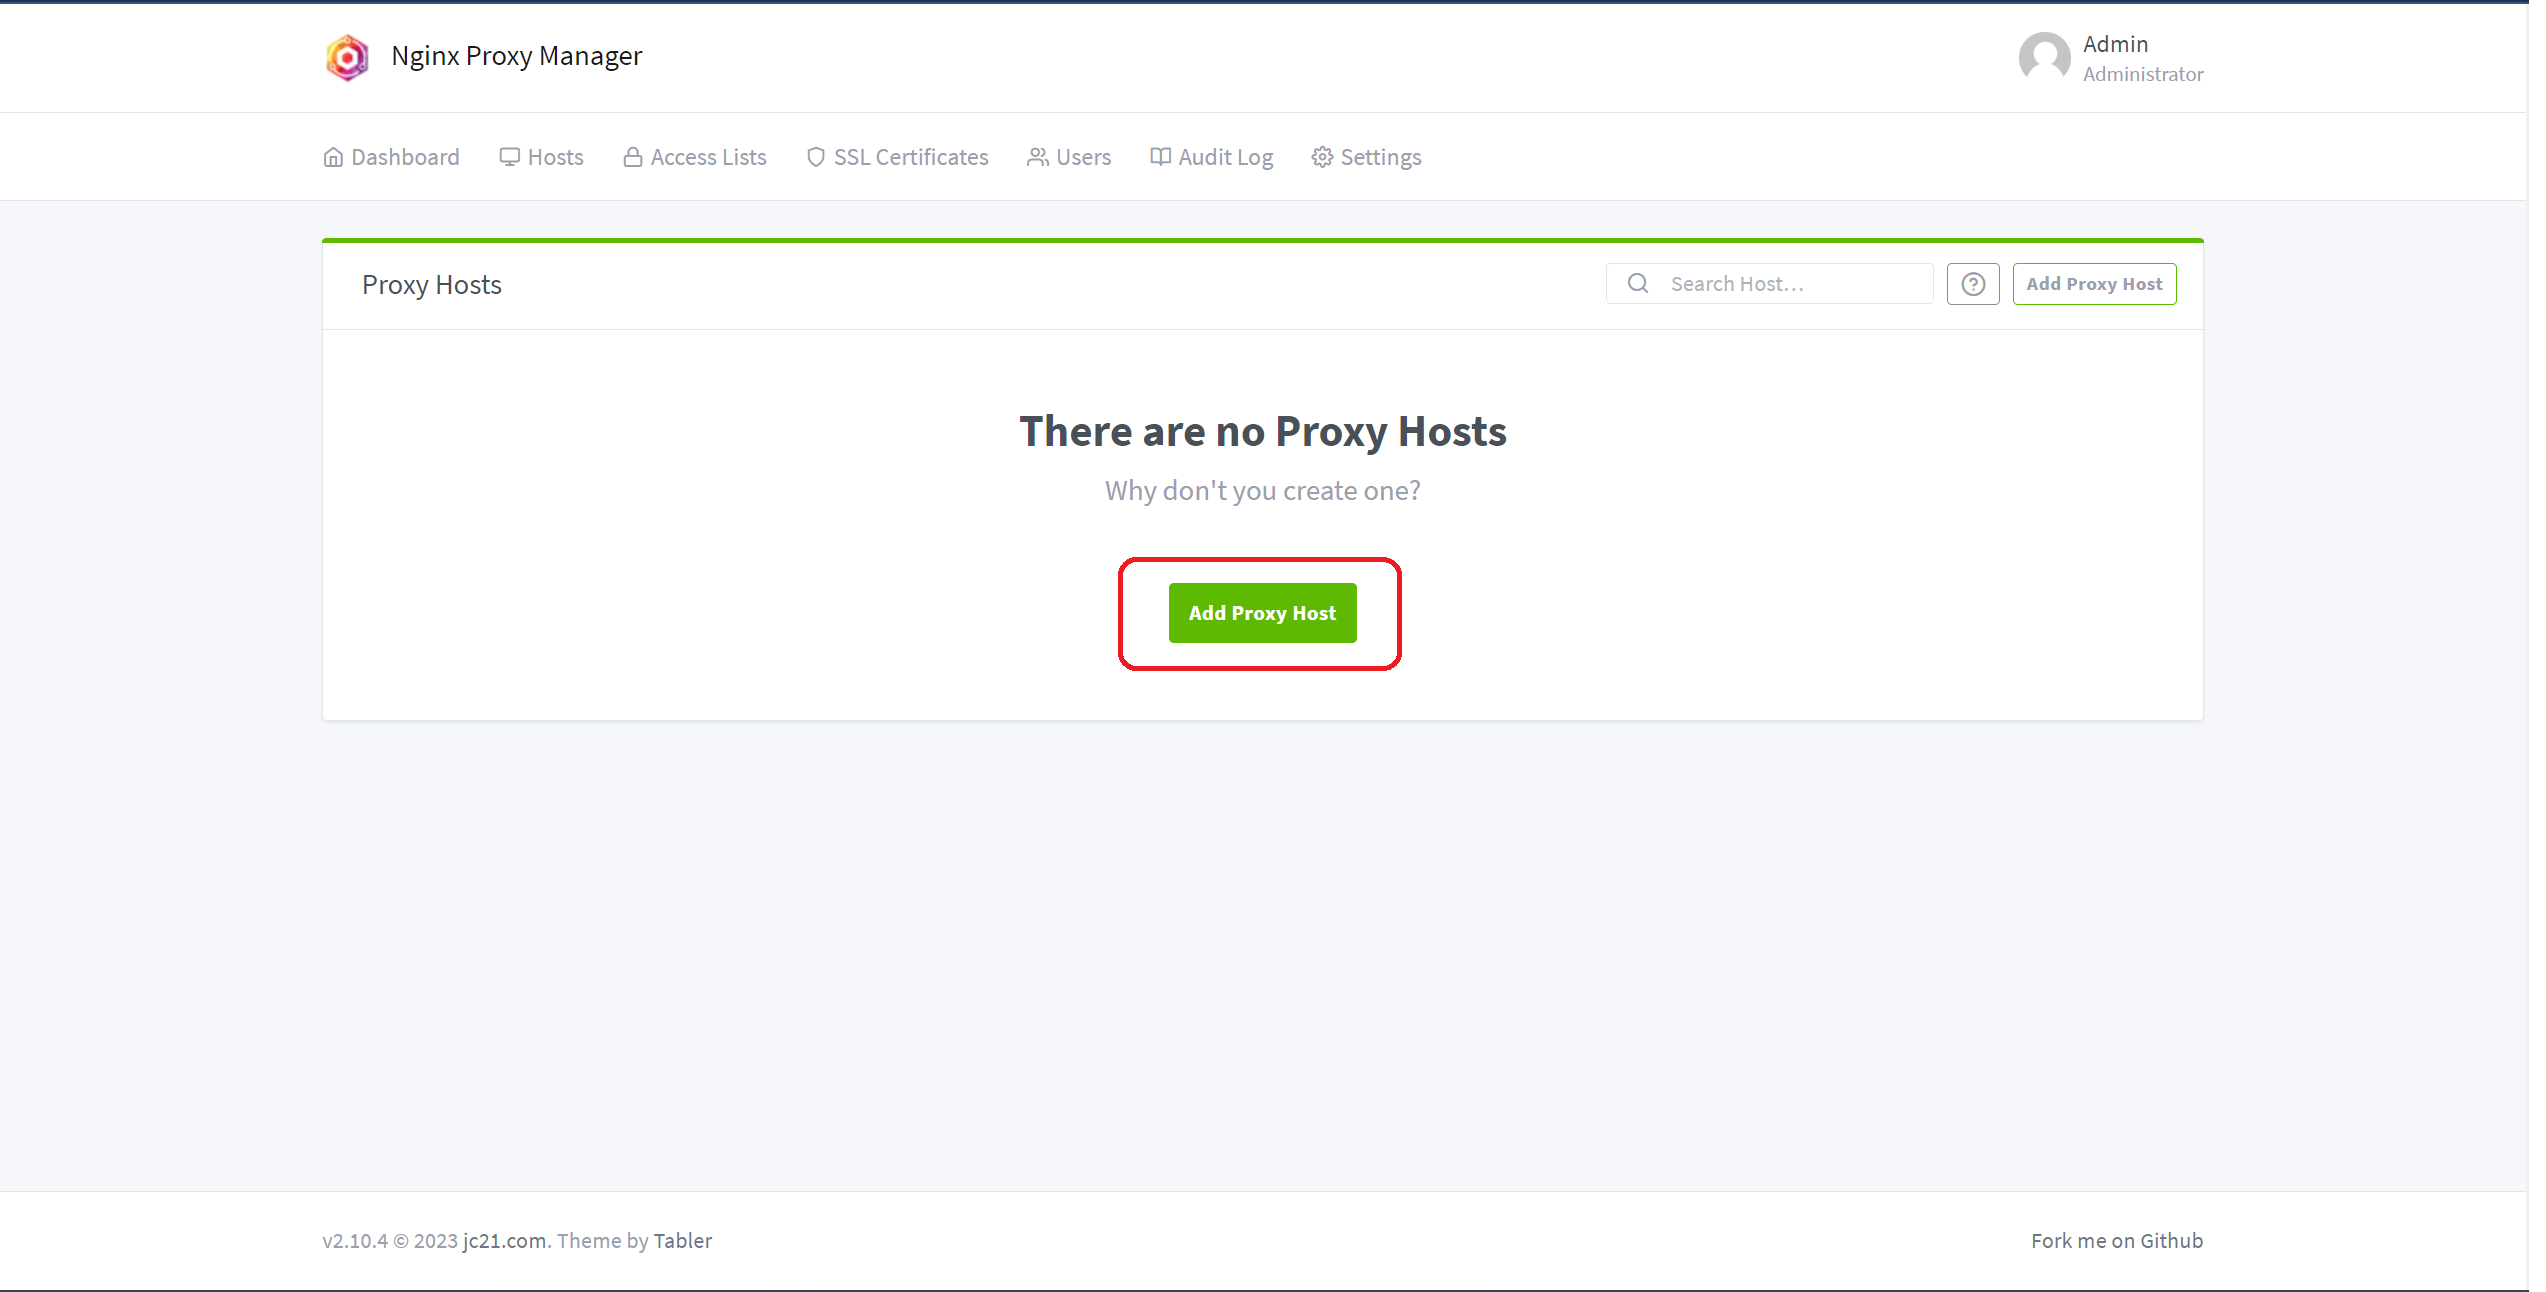
6. Click on the "Add Proxy Host" button and provide the necessary details:
- Domain Name (the domain name you acquired from your domain registrar)
- Redirect Host Name/IP (the hostname of the target application you want to connect)
- Redirect Port (for our case, it's 5000; however, if you use Nginx as a web server, it's likely port 80)
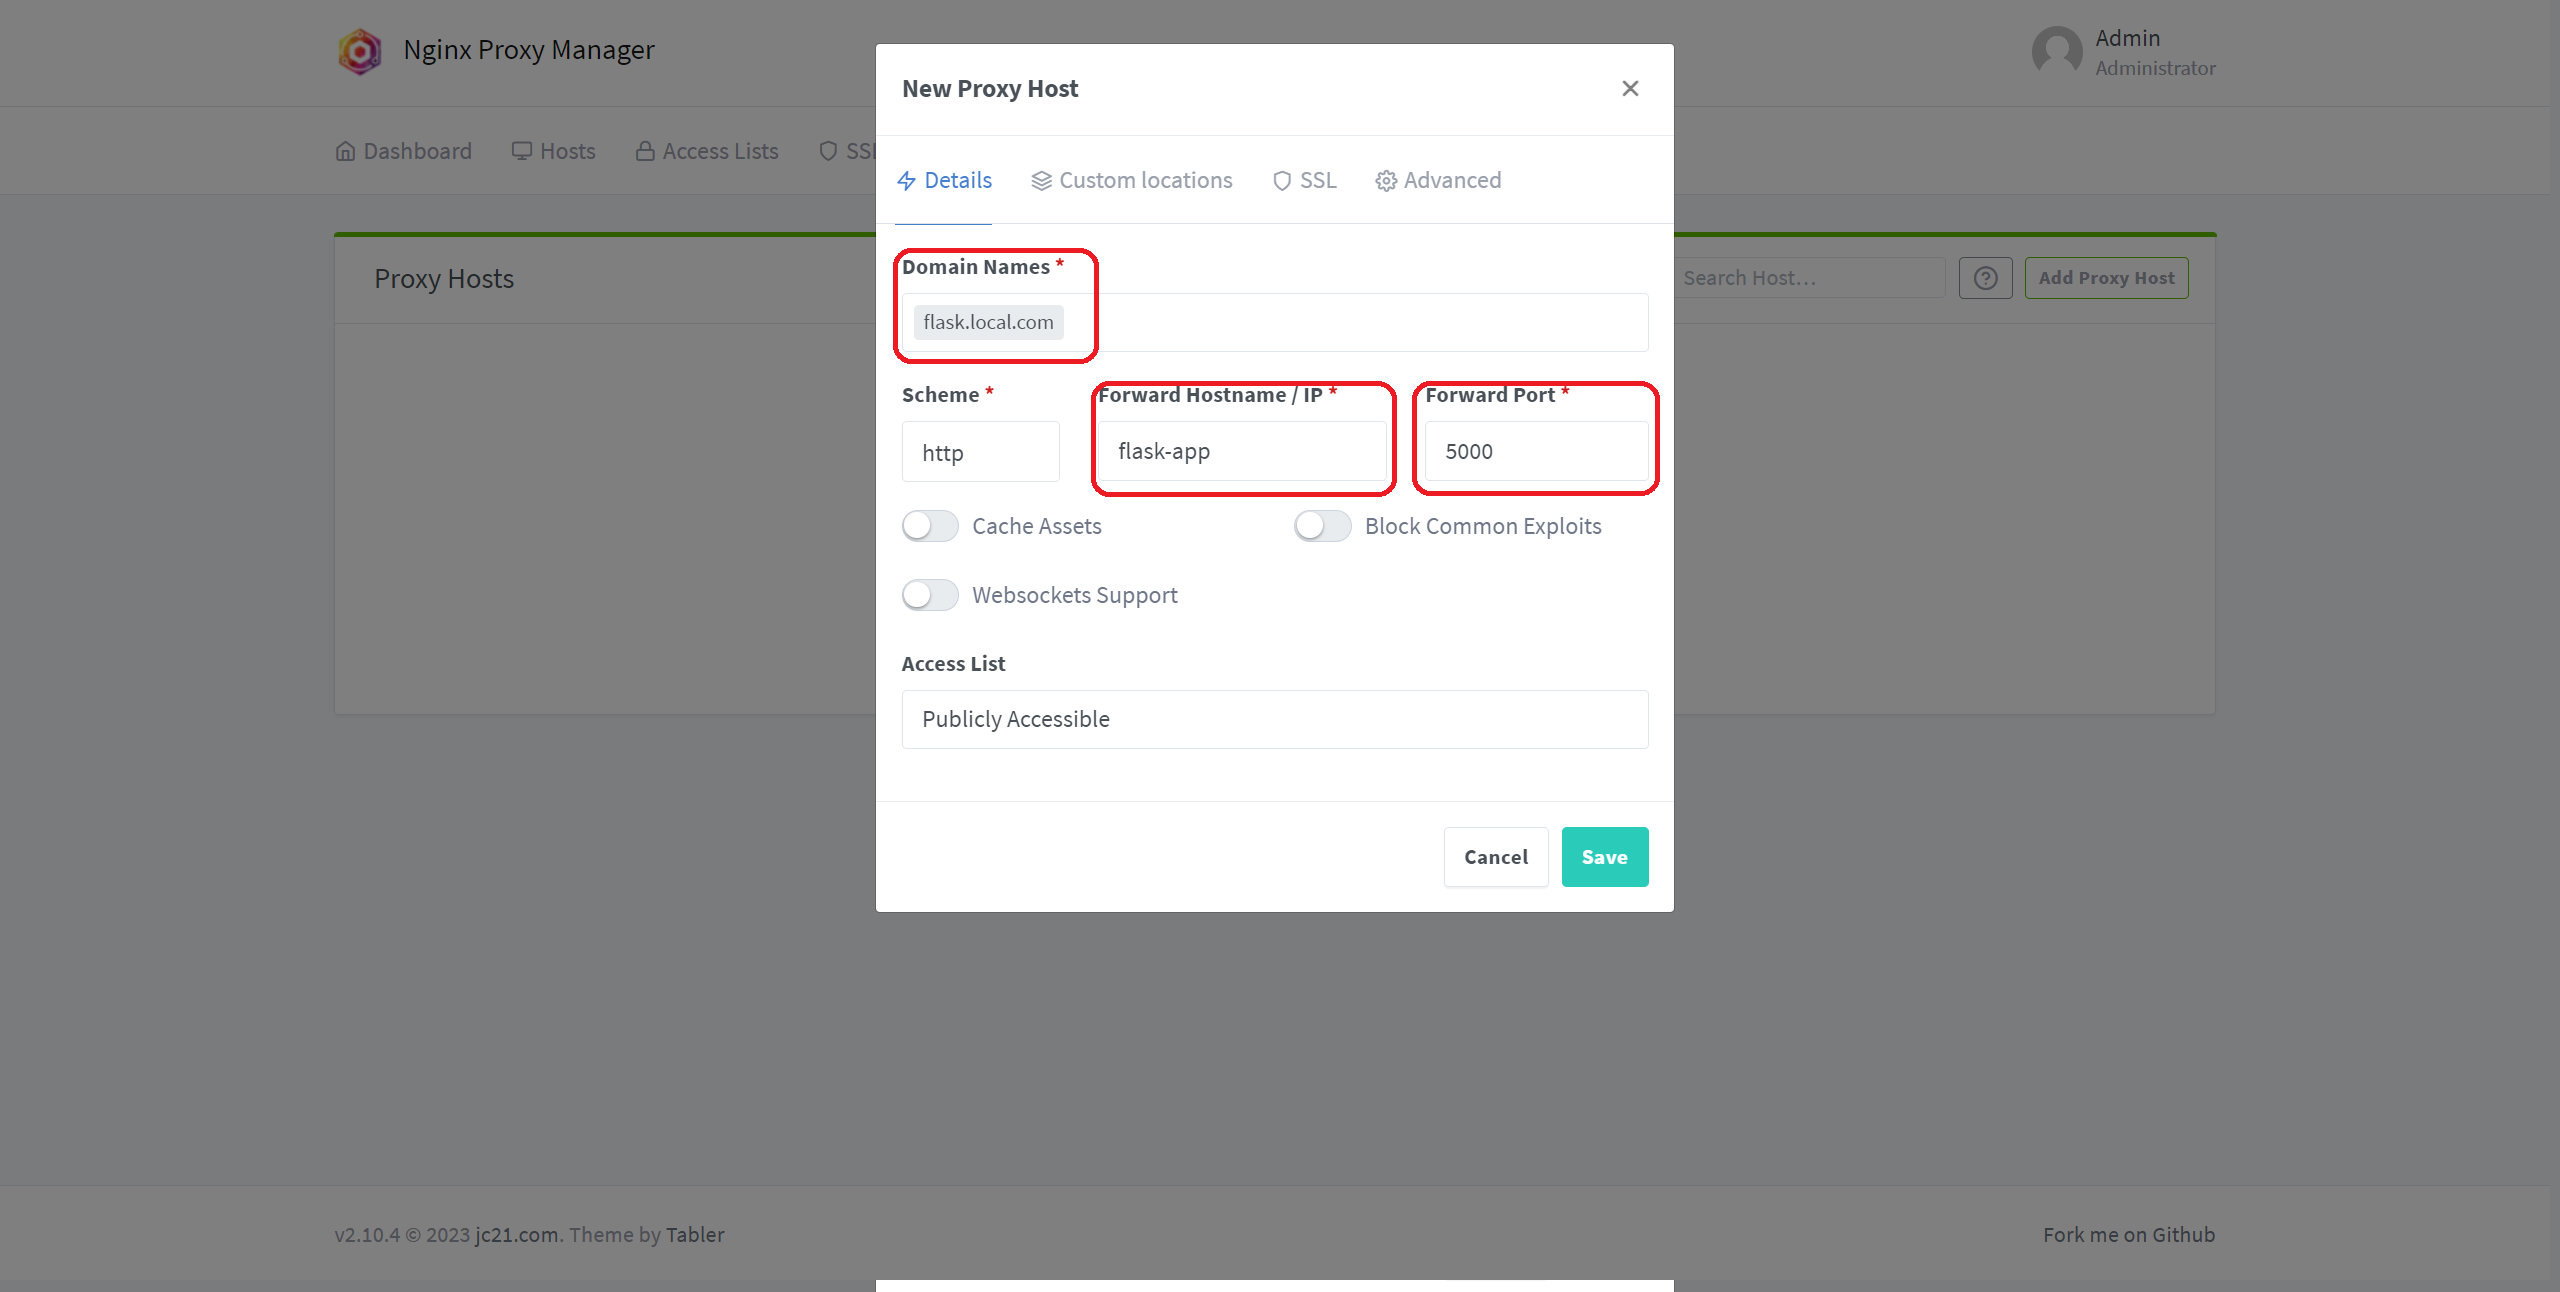
7. Click the "Save" button
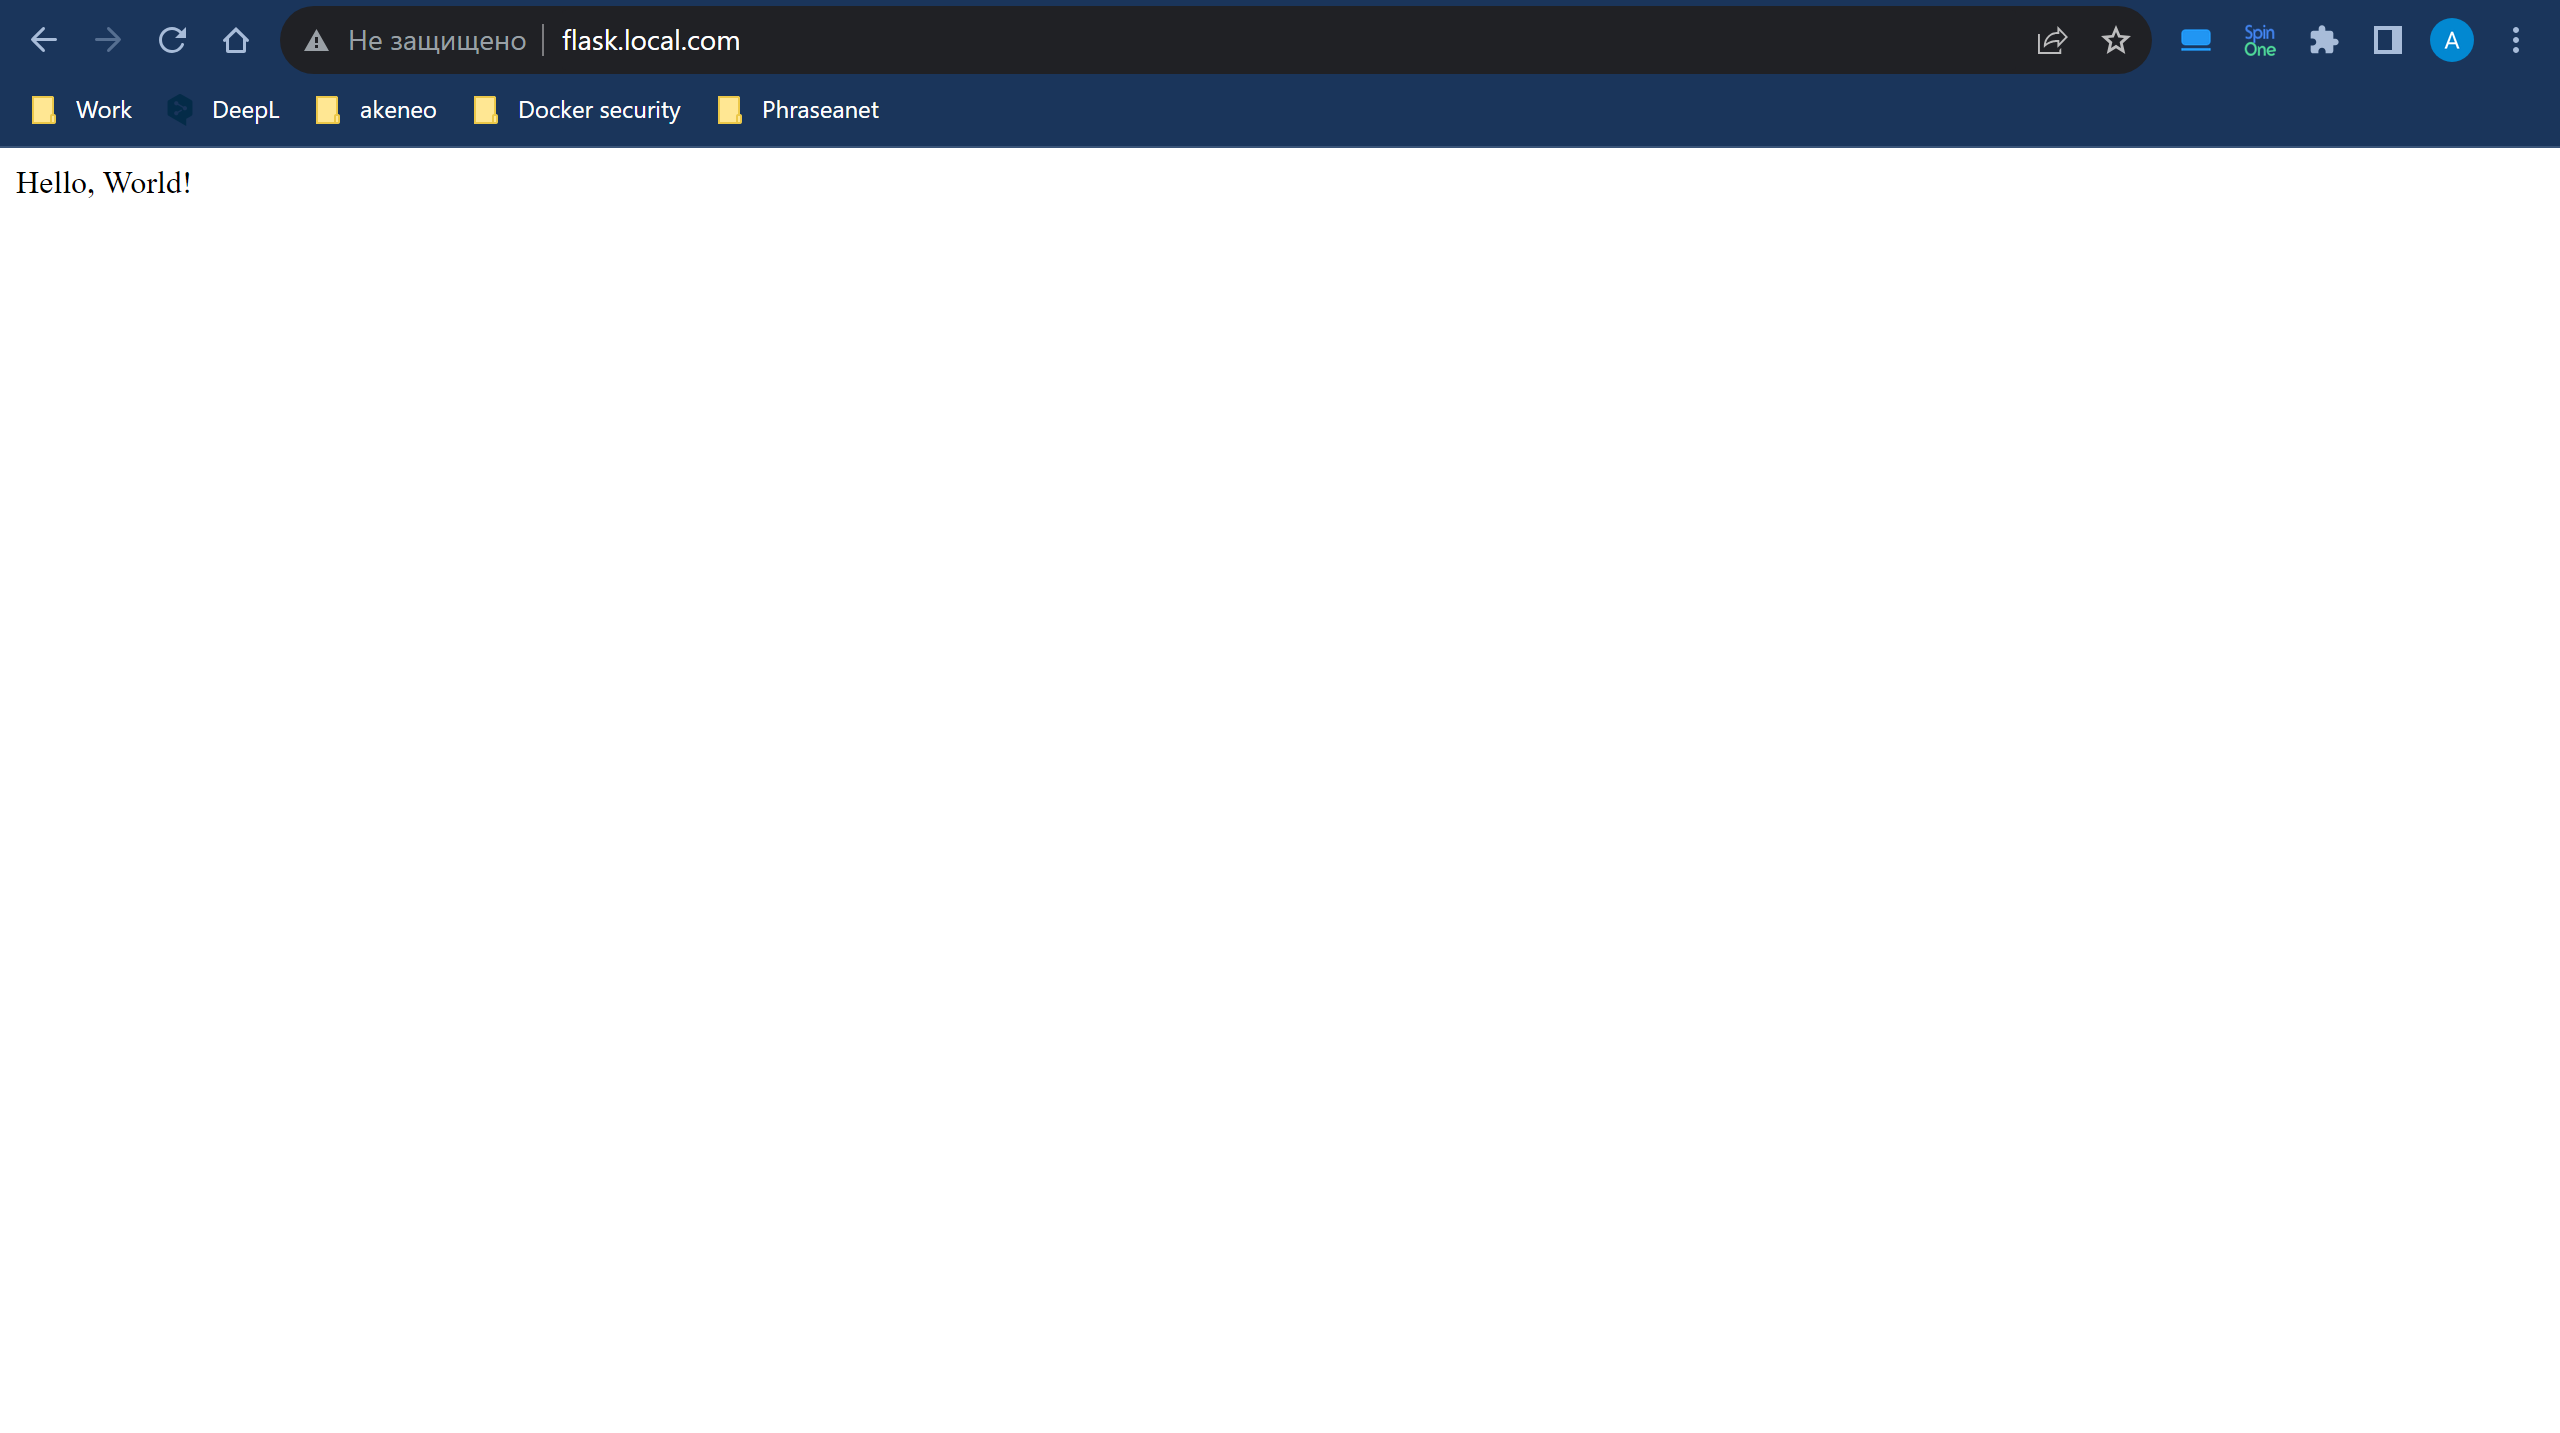
If everything is correctly configured, your proxy host's status should display as "ok."

8. Proceed to visit your website using the designated domain name.
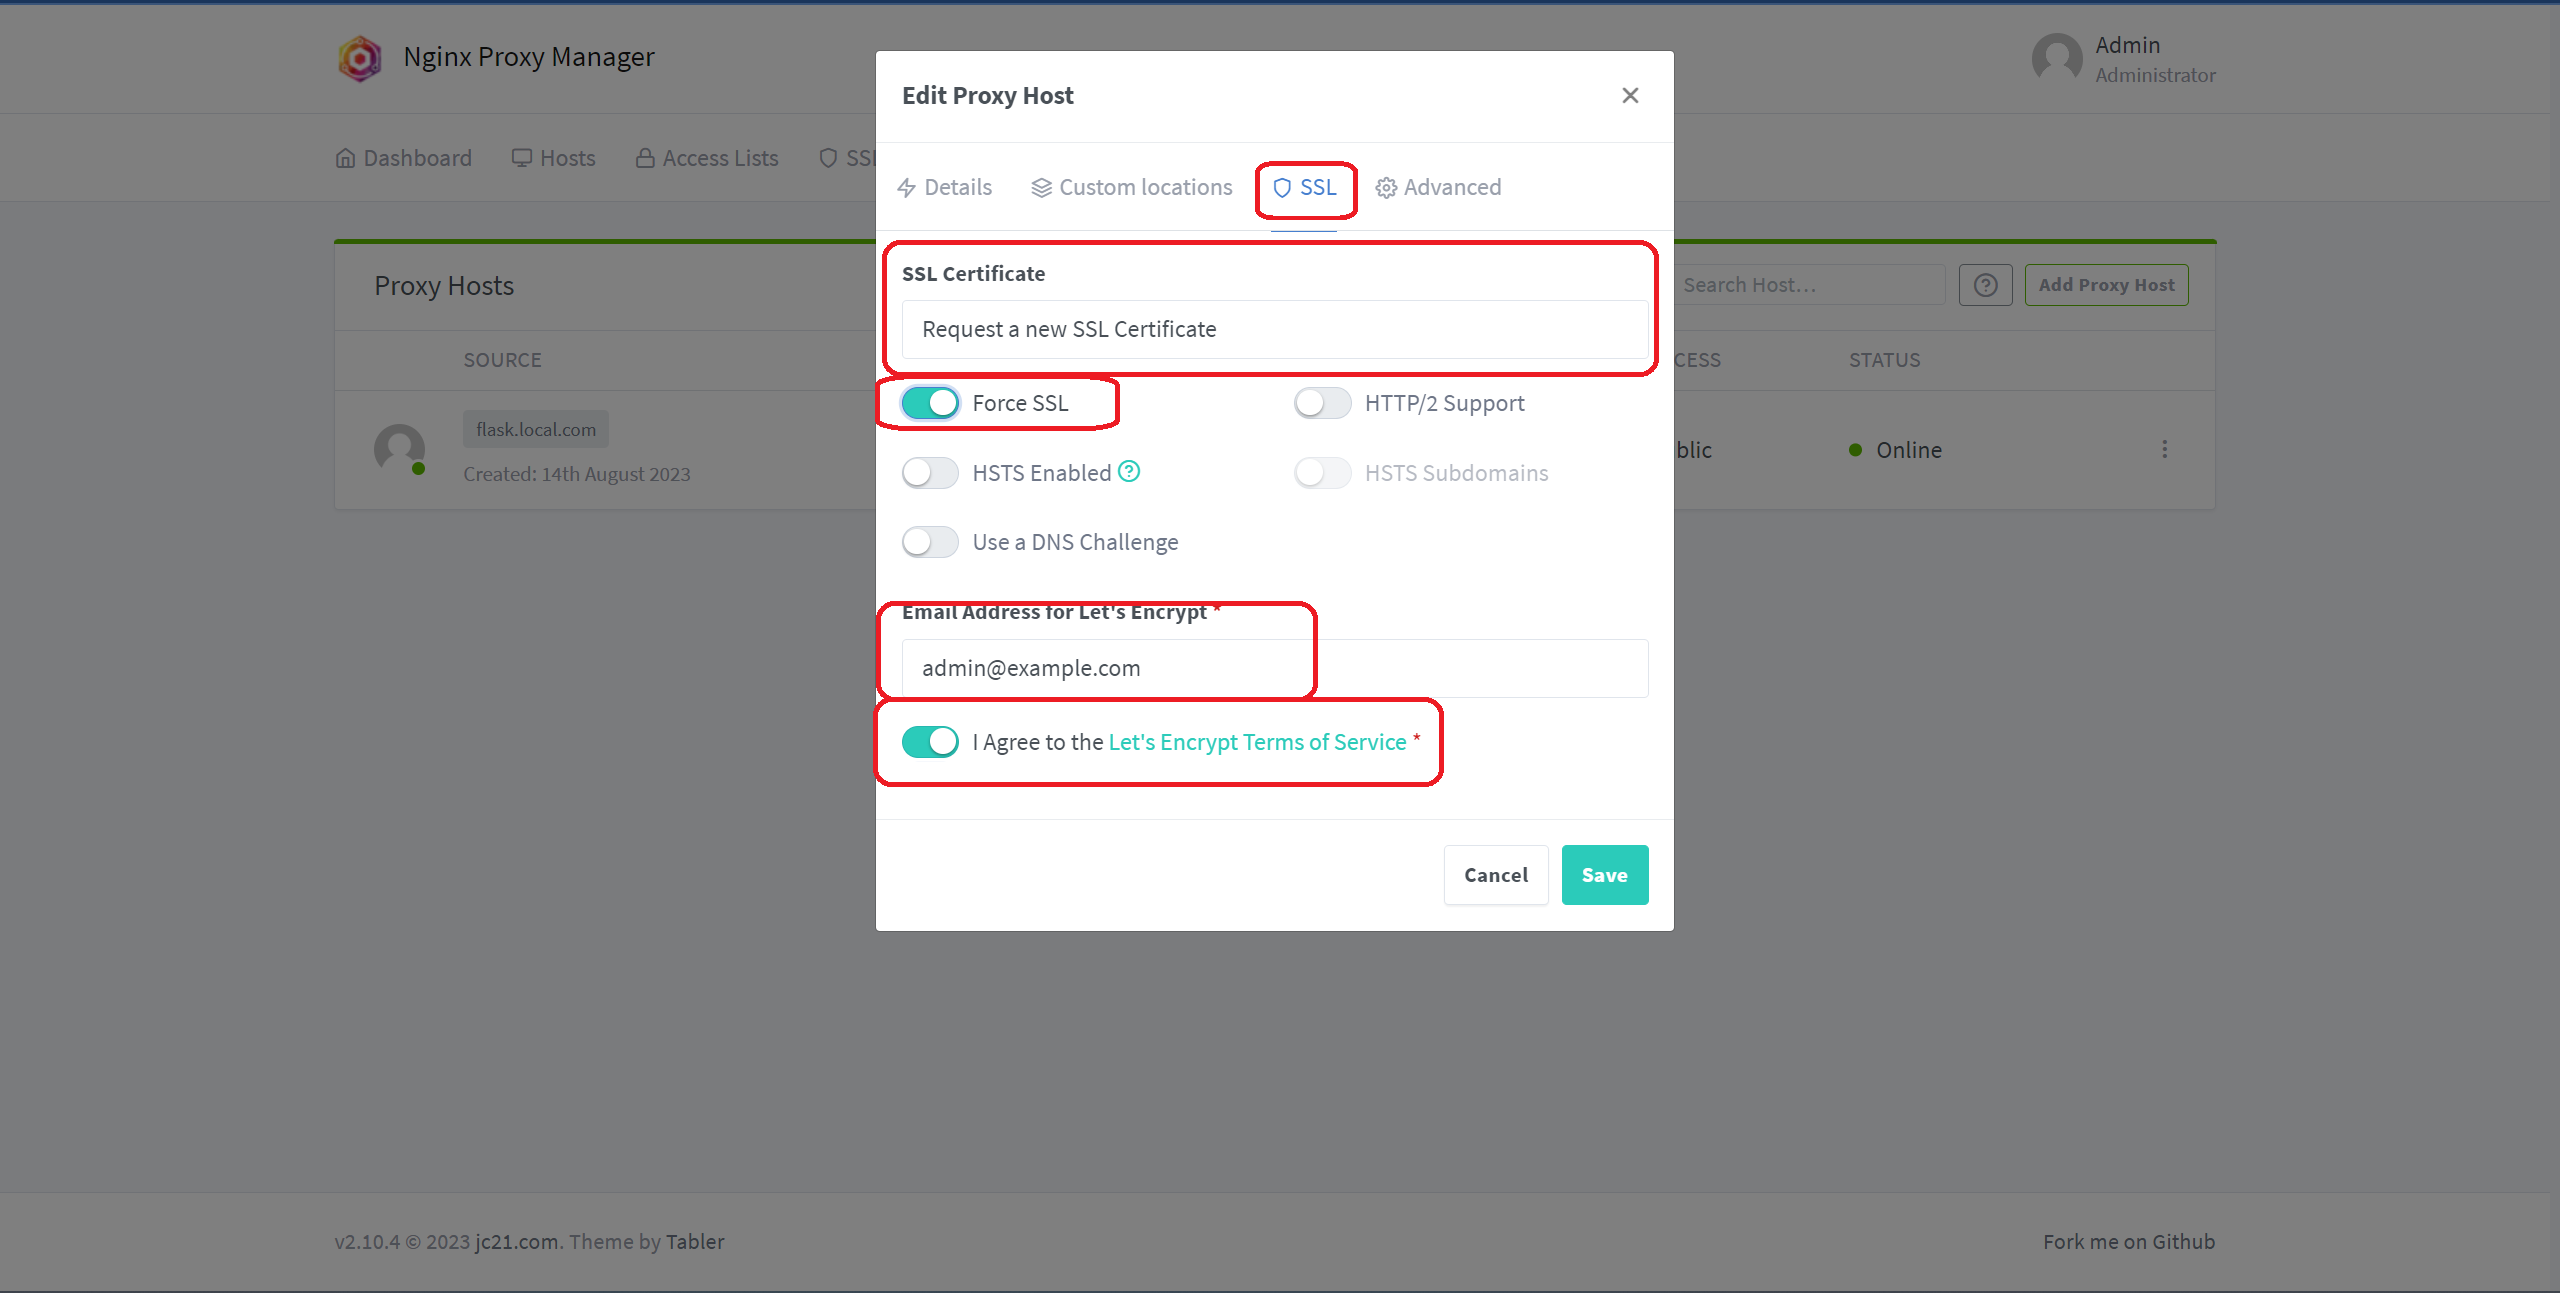
9. Should you wish to implement SSL (for availability via the HTTPS protocol), modify your proxy host settings and add SSL to it.
10. Please be cautious: You need to associate your domain name with the public IP of your site first. This can be accomplished on your domain registrar's website by modifying the "A" record value to match your new server's IP address.